Codex CLI(იხსნება ახალ ფანჯარაში) is our cross-platform local software agent, designed to produce high-quality, reliable software changes while operating safely and efficiently on your machine. We’ve learned a tremendous amount about how to build a world-class software agent since we first launched the CLI in April. To unpack those insights, this is the first post in an ongoing series where we’ll explore various aspects of how Codex works, as well as hard-earned lessons. (For an even more granular view on how the Codex CLI is built, check out our open source repository at https://github.com/openai/codex(იხსნება ახალ ფანჯარაში). Many of the finer details of our design decisions are memorialized in GitHub issues and pull requests if you’d like to learn more.)
To kick off, we’ll focus on the agent loop, which is the core logic in Codex CLI that is responsible for orchestrating the interaction between the user, the model, and the tools the model invokes to perform meaningful software work. We hope this post gives you a good view into the role our agent (or “harness”) plays in making use of an LLM.
Before we dive in, a quick note on terminology: at OpenAI, “Codex” encompasses a suite of software agent offerings, including Codex CLI, Codex Cloud, and the Codex VS Code extension. This post focuses on the Codex harness, which provides the core agent loop and execution logic that underlies all Codex experiences and is surfaced through the Codex CLI. For ease here, we’ll use the terms “Codex” and “Codex CLI” interchangeably.
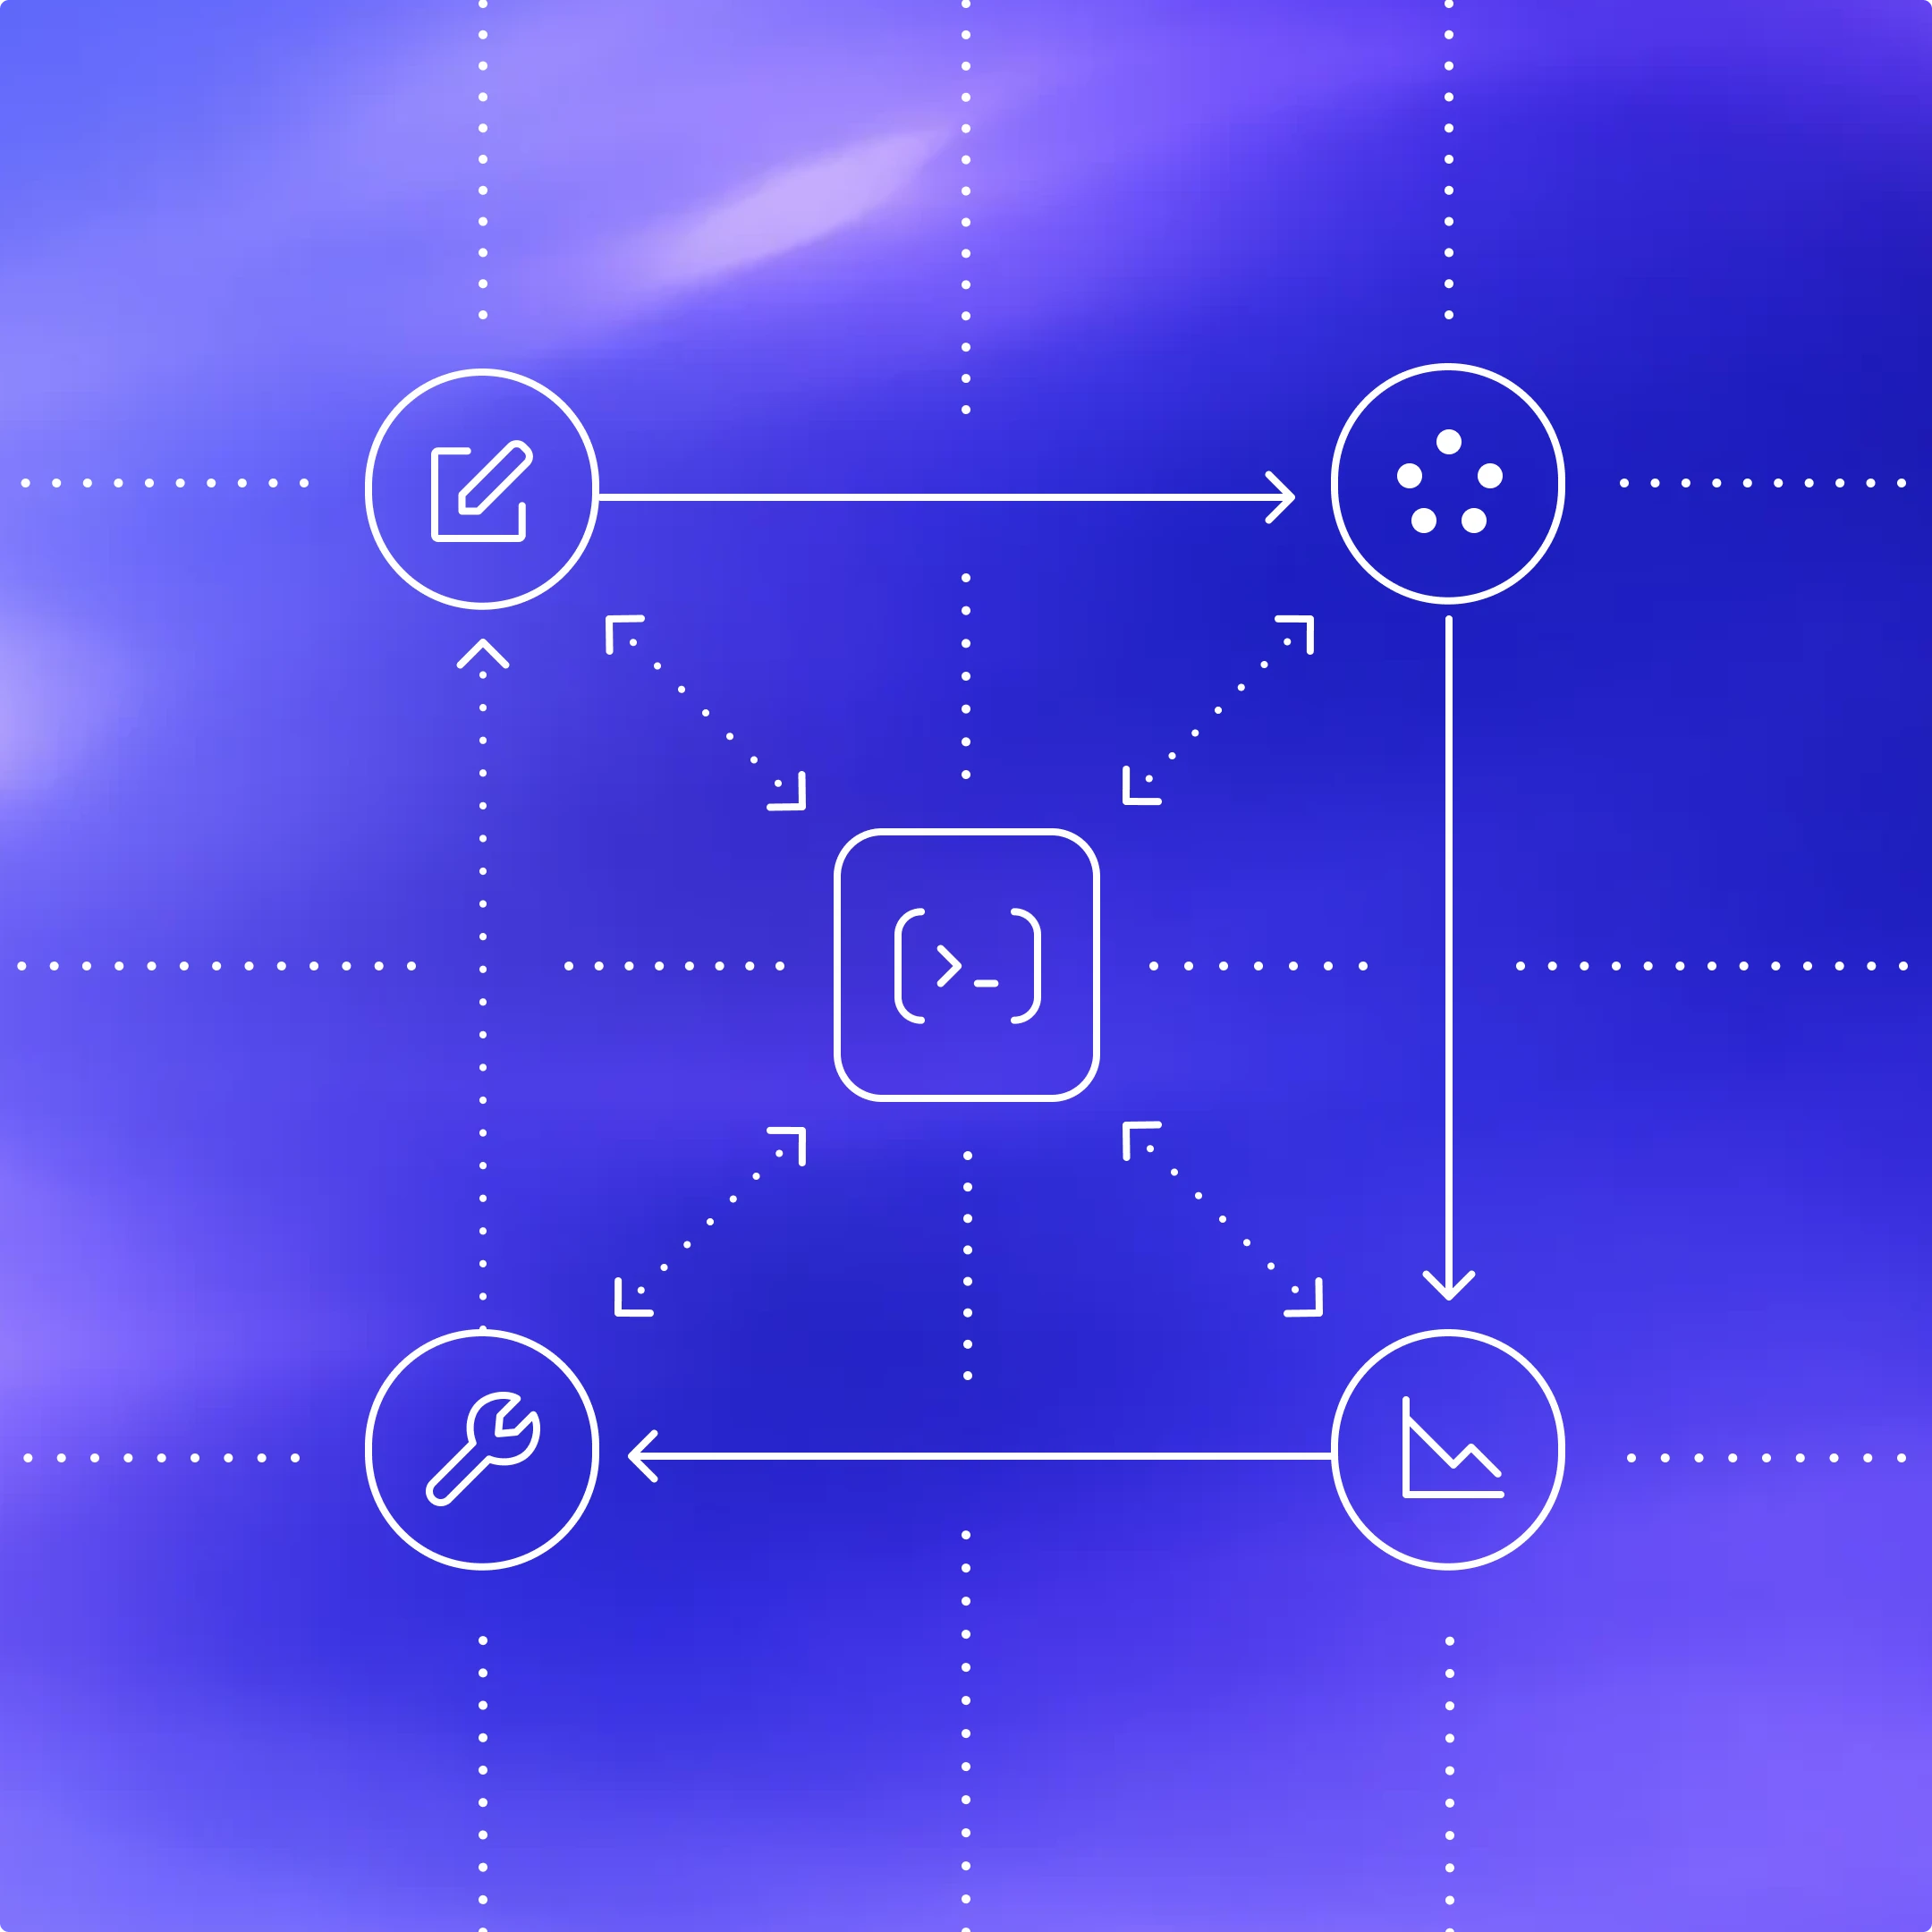
At the heart of every AI agent is something called “the agent loop.” A simplified illustration of the agent loop looks like this:

To start, the agent takes input from the user to include in the set of textual instructions it prepares for the model known as a prompt.
The next step is to query the model by sending it our instructions and asking it to generate a response, a process known as inference. During inference, the textual prompt is first translated into a sequence of input tokens(იხსნება ახალ ფანჯარაში)—integers that index into the model’s vocabulary. These tokens are then used to sample the model, producing a new sequence of output tokens.
The output tokens are translated back into text, which becomes the model’s response. Because tokens are produced incrementally, this translation can happen as the model runs, which is why many LLM-based applications display streaming output. In practice, inference is usually encapsulated behind an API that operates on text, abstracting away the details of tokenization.
As the result of the inference step, the model either (1) produces a final response to the user’s original input, or (2) requests a tool call that the agent is expected to perform (e.g., “run ls and report the output”). In the case of (2), the agent executes the tool call and appends its output to the original prompt. This output is used to generate a new input that’s used to re-query the model; the agent can then take this new information into account and try again.
This process repeats until the model stops emitting tool calls and instead produces a message for the user (referred to as an assistant message in OpenAI models). In many cases, this message directly answers the user’s original request, but it may also be a follow-up question for the user.
Because the agent can execute tool calls that modify the local environment, its “output” is not limited to the assistant message. In many cases, the primary output of a software agent is the code it writes or edits on your machine. Nevertheless, each turn always ends with an assistant message—such as “I added the architecture.md you asked for”—which signals a termination state in the agent loop. From the agent’s perspective, its work is complete and control returns to the user.
The journey from user input to agent response shown in the diagram is referred to as one turn of a conversation (a thread in Codex). Though this conversation turn can include many iterations between the model inference and tool calls. Every time you send a new message to an existing conversation, the conversation history is included as part of the prompt for the new turn, which includes the messages and tool calls from previous turns:

This means that as the conversation grows, so does the length of the prompt used to sample the model. This length matters because every model has a context window, which is the maximum number of tokens it can use for one inference call. Note this window includes both input and output tokens. As you might imagine, an agent could decide to make hundreds of tool calls in a single turn, potentially exhausting the context window. For this reason, context window management is one of the agent’s many responsibilities. Now, let’s dive in to see how Codex runs the agent loop.
The Codex CLI sends HTTP requests to the Responses API(იხსნება ახალ ფანჯარაში) to run model inference. We’ll examine how information flows through Codex, which uses the Responses API to drive the agent loop.
The Responses API endpoint that the Codex CLI uses is configurable(იხსნება ახალ ფანჯარაში), so it can be used with any endpoint that implements the Responses API(იხსნება ახალ ფანჯარაში):
- When using ChatGPT login(იხსნება ახალ ფანჯარაში) with the Codex CLI, it uses
https://chatgpt.com/backend-api/codex/responsesas the endpoint - When using API-key authentication(იხსნება ახალ ფანჯარაში) with OpenAI hosted models, it uses
https://api.openai.com/v1/responsesas the endpoint - When running Codex CLI with
--ossto use gpt-oss with ollama 0.13.4+(იხსნება ახალ ფანჯარაში) or LM Studio 0.3.39+(იხსნება ახალ ფანჯარაში), it defaults tohttp://localhost:11434/v1/responsesrunning locally on your computer - Codex CLI can be used with the Responses API hosted by a cloud provider such as Azure
Let’s explore how Codex creates the prompt for the first inference call in a conversation.
As an end user, you don’t specify the prompt used to sample the model verbatim when you query the Responses API. Instead, you specify various input types as part of your query, and the Responses API server decides how to structure this information into a prompt that the model is designed to consume. You can think of the prompt as a “list of items”; this section will explain how your query gets transformed into that list.
In the initial prompt, every item in the list is associated with a role. The role indicates how much weight the associated content should have and is one of the following values (in decreasing order of priority): system, developer, user, assistant.
The Responses API(იხსნება ახალ ფანჯარაში) takes a JSON payload with many parameters. We’ll focus on these three:
instructions(იხსნება ახალ ფანჯარაში): system (or developer) message inserted into the model’s contexttools(იხსნება ახალ ფანჯარაში): a list of tools the model may call while generating a responseinput(იხსნება ახალ ფანჯარაში): a list of text, image, or file inputs to the model
In Codex, the instructions field is read from the model_instructions_file(იხსნება ახალ ფანჯარაში) in ~/.codex/config.toml, if specified; otherwise, the base_instructions associated with a model(იხსნება ახალ ფანჯარაში) are used. Model-specific instructions live in the Codex repo and are bundled into the CLI (e.g., gpt-5.2-codex_prompt.md(იხსნება ახალ ფანჯარაში)).
The tools field is a list of tool definitions that conform to a schema defined by the Responses API. For Codex, this includes tools that are provided by the Codex CLI, tools that are provided by the Responses API that should be made available to Codex, as well as tools provided by the user, usually via MCP servers:
Finally, the input field of the JSON payload is a list of items. Codex inserts the following items(იხსნება ახალ ფანჯარაში) into the input before adding the user message:
1. A message with role=developer that describes the sandbox that applies only to the Codex-provided shell tool defined in the tools section. That is, other tools, such as those provided from MCP servers, are not sandboxed by Codex and are responsible for enforcing their own guardrails.
The message is built from a template where the key pieces of content come from snippets of Markdown bundled into the Codex CLI, such as workspace_write.md(იხსნება ახალ ფანჯარაში) and on_request.md(იხსნება ახალ ფანჯარაში):
2. (Optional) A message with role=developer whose contents are the developer_instructions value read from the user’s config.toml file.
3. (Optional) A message with role=user whose contents are the “user instructions,” which are not sourced from a single file but are aggregated across multiple sources(იხსნება ახალ ფანჯარაში). In general, more specific instructions appear later:
- Contents of
AGENTS.override.mdandAGENTS.mdin$CODEX_HOME - Subject to a limit (32 KiB, by default), look in each folder from the Git/project root of the
cwd(if it it exists) up to thecwditself: add the contents of any ofAGENTS.override.md,AGENTS.md, or any filename specified byproject_doc_fallback_filenames in config.toml - If any skills(იხსნება ახალ ფანჯარაში) have been configured:
- a short preamble about skills
- the skill metadata(იხსნება ახალ ფანჯარაში) for each skill
- a section on how to use skills(იხსნება ახალ ფანჯარაში)
4. A message with role=user that describes the local environment in which the agent is currently operating. This specifies the current working directory and the user’s shell(იხსნება ახალ ფანჯარაში):
როგორც კი Codex ზემოთ აღწერილ ყველა გამოთვლას ასრულებს input-ის ინიციალიზებისთვის, ის საუბრის დასაწყებად მომხმარებლის შეტყობინებას ამატებს.
წინა მაგალითები თითოეული შეტყობინების შინაარსზე იყო ფოკუსირებული, მაგრამ გაითვალისწინეთ, რომ input-ის თითოეული ელემენტი არის JSON ობიექტი type-ით, role(იხსნება ახალ ფანჯარაში)-ით და content-ით, შემდეგნაირად:
როგორც კი Codex ქმნის სრულ JSON payload-ს Responses API-ში გასაგზავნად, შემდეგ ასრულებს HTTP POST მოთხოვნას Authorization header-ით იმის მიხედვით, როგორ არის Responses API-ის საბოლოო წერტილი დაკონფიგურირებული ~/.codex/config.toml-ში (თუ მითითებულია, დამატებითი HTTP header-ები და query პარამეტრებიც ემატება).
როდესაც OpenAI-ის Responses API სერვერი მოთხოვნას იღებს, ის JSON-ს იყენებს მოდელისთვის მოთხოვნის გამოსაყვანად შემდეგნაირად (ცხადია, Responses API-ის custom იმპლემენტაციამ შეიძლება სხვა არჩევანი გააკეთოს):

როგორც ხედავთ, მოთხოვნაში პირველი სამი ელემენტის რიგითობას სერვერი განსაზღვრავს და არა კლიენტი. თუმცა ამ სამი ელემენტიდან მხოლოდ system message-ის შინაარსს აკონტროლებს ასევე სერვერი, რადგან tools და instructions კლიენტის მიერ განისაზღვრება. ამას მოჰყვება JSON payload-დან input, რათა მოთხოვნა დასრულდეს.
ახლა, როცა ჩვენი მოთხოვნა მზადაა, შეგვიძლია მოდელის სინჯირებაზე გადავიდეთ.
ეს HTTP მოთხოვნა Responses API-ში იწყებს საუბრის პირველ „ტურს“ Codex-ში. სერვერი პასუხობს Server-Sent Events-ის (SSE(იხსნება ახალ ფანჯარაში)) ნაკადით. თითოეული მოვლენის data არის JSON payload "type"-ით, რომელიც იწყება "response"-ით და შეიძლება დაახლოებით ასე გამოიყურებოდეს (მოვლენების სრული სია მოცემულია ჩვენს API დოკუმენტაციაში(იხსნება ახალ ფანჯარაში)):
Codex მოიხმარს მოვლენების ნაკადს(იხსნება ახალ ფანჯარაში) და მათ კლიენტისთვის გამოსაყენებელ შიდა მოვლენის ობიექტებად ხელახლა აქვეყნებს. ისეთი მოვლენები, როგორიცაა response.output_text.delta, UI-ში ნაკადურობის მხარდასაჭერად გამოიყენება, ხოლო სხვა მოვლენები, როგორიცაა response.output_item.added, გარდაიქმნება ობიექტებად, რომლებიც მომდევნო Responses API გამოძახებებისთვის input-ს ემატება.
დავუშვათ, Responses API-ში პირველ მოთხოვნაში ორი response.output_item.done მოვლენა შედის: ერთი type=reasoning-ით და ერთი type=function_call-ით. ეს მოვლენები JSON-ის input ველში უნდა აისახოს, როდესაც მოდელს თავიდან ვკითხავთ ინსტრუმენტის გამოძახების პასუხით:
შემდგომი გამოკითხვის ნაწილად მოდელის სინჯირებისთვის გამოყენებული მოთხოვნა ასე გამოიყურებოდა:

კერძოდ, გაითვალისწინეთ, რომ ძველი მოთხოვნა ახალი მოთხოვნის ზუსტი პრეფიქსია. ეს განზრახ არის გაკეთებული, რადგან ასე შემდგომი მოთხოვნები ბევრად უფრო ეფექტიანი ხდება — შეგვიძლია ვისარგებლოთ მოთხოვნის კეშირებით (რასაც წარმადობის შემდეგ სექციაში განვიხილავთ).
თუ აგენტის ციკლის პირველ დიაგრამას დავუბრუნდებით, ვნახავთ, რომ ინფერენციასა და ინსტრუმენტის გამოძახებას შორის შეიძლება ბევრი იტერაცია იყოს. მოთხოვნა შეიძლება განაგრძობდეს ზრდას, სანამ საბოლოოდ assistant message-ს არ მივიღებთ, რაც ტურის დასრულებაზე მიუთითებს:
Codex CLI-ში assistant message-ს მომხმარებელს ვუჩვენებთ და composer-ზე ფოკუსს ვაბრუნებთ, რათა მომხმარებელს ვანიშნოთ, რომ ახლა საუბრის გასაგრძელებლად მისი „ჯერია“. თუ მომხმარებელი პასუხობს, წინა ტურის assistant message-იც და მომხმარებლის ახალი შეტყობინებაც უნდა დაემატოს input-ს Responses API მოთხოვნაში ახალი ტურის დასაწყებად:
კიდევ ერთხელ, რადგან საუბარს ვაგრძელებთ, Responses API-ში გაგზავნილი input-ის სიგრძე მუდმივად იზრდება:

ვნახოთ, რას ნიშნავს ეს მუდმივად მზარდი მოთხოვნა წარმადობისთვის.
შეიძლება საკუთარ თავს ეკითხებოდეთ: „მოიცა, განა აგენტის ციკლი საუბრის განმავლობაში Responses API-ში გაგზავნილი JSON-ის რაოდენობის თვალსაზრისით კვადრატული არ არის?“ და მართალიც იქნებოდით. მიუხედავად იმისა, რომ Responses API ამ პრობლემის შესამსუბუქებლად არჩევით previous_response_id(იხსნება ახალ ფანჯარაში) პარამეტრს მხარს უჭერს, Codex მას დღეს არ იყენებს — ძირითადად იმისთვის, რომ მოთხოვნები სრულად stateful-ის გარეშე დარჩეს და Zero Data Retention (ZDR) კონფიგურაციებს დაუჭიროს მხარი.
previous_response_id-ის თავიდან აცილება ამარტივებს პროცესს Responses API-ის პროვაიდერისთვის, რადგან უზრუნველყოფს, რომ ყოველი მოთხოვნა stateful-ის გარეშე იყოს. ეს ასევე ამარტივებს იმ მომხმარებლების მხარდაჭერას, რომლებმაც აირჩიეს Zero Data Retention (ZDR)(იხსნება ახალ ფანჯარაში), რადგან previous_response_id-ის მხარდასაჭერად საჭირო მონაცემების შენახვა ZDR-ს ეწინააღმდეგებოდა. გაითვალისწინეთ, რომ ZDR მომხმარებლები არ კარგავენ შესაძლებლობას ისარგებლონ წინა ტურებიდან საკუთრების reasoning შეტყობინებებით, რადგან შესაბამისი encrypted_content სერვერზე შეიძლება გაშიფრული იყოს. (OpenAI ინახავს ZDR მომხმარებლის გაშიფვრის გასაღებს, მაგრამ არა მის მონაცემებს.) Codex-ში ZDR-ის მხარდასაჭერად დაკავშირებული ცვლილებებისთვის იხილეთ PR-ები #642(იხსნება ახალ ფანჯარაში) და #1641(იხსნება ახალ ფანჯარაში).
ზოგადად, მოდელის სინჯირების ღირებულება ქსელური ტრაფიკის ღირებულებაზე დომინირებს, ამიტომ ჩვენი ეფექტიანობის ძალისხმევის მთავარი სამიზნე სწორედ სინჯირებაა. სწორედ ამიტომ არის მოთხოვნის კეშირება ასე მნიშვნელოვანი — ის გვაძლევს საშუალებას წინა ინფერენციის გამოძახებიდან გამოთვლები ხელახლა გამოვიყენოთ. როდესაც კეშში მოხვედრა ხდება, მოდელის სინჯირება კვადრატულის ნაცვლად ხაზოვანი ხდება. ჩვენი მოთხოვნის კეშირების (იხსნება ახალ ფანჯარაში)დოკუმენტაცია ამას უფრო დეტალურად ხსნის:
კეშში მოხვედრა მხოლოდ მოთხოვნის შიგნით ზუსტი პრეფიქსის დამთხვევებისთვის არის შესაძლებელი. კეშირების სარგებლის მისაღებად სტატიკური შინაარსი, როგორიცაა ინსტრუქციები და მაგალითები, მოთხოვნის დასაწყისში განათავსეთ, ხოლო ცვლადი შინაარსი, მაგალითად მომხმარებლისთვის სპეციფიკური ინფორმაცია, ბოლოს მოათავსეთ. ეს ასევე ეხება სურათებსა და ინსტრუმენტებს, რომლებიც მოთხოვნებს შორის იდენტური უნდა იყოს.
ამის გათვალისწინებით, ვნახოთ, რა ტიპის ოპერაციებმა შეიძლება Codex-ში „cache miss“ გამოიწვიოს:
- საუბრის შუაში მოდელისთვის ხელმისაწვდომი
tools-ის შეცვლამ. - იმ
model-ის შეცვლამ, რომელიც Responses API მოთხოვნის სამიზნეა (პრაქტიკაში ეს თავდაპირველი მოთხოვნის მესამე ელემენტს ცვლის, რადგან ის მოდელისთვის სპეციფიკურ ინსტრუქციებს შეიცავს). - სენდბოქსის კონფიგურაციის, დამტკიცების რეჟიმის ან მიმდინარე სამუშაო დირექტორიის შეცვლამ.
Codex-ის გუნდმა დიდი სიფრთხილე უნდა გამოიჩინოს, როდესაც Codex CLI-ში ახალ ფუნქციებს ამატებს, რომლებმაც შეიძლება მოთხოვნის კეშირება დააზიანოს. მაგალითად, MCP ინსტრუმენტების თავდაპირველმა მხარდაჭერამ წარმოშვა ხარვეზი, როცა ინსტრუმენტების თანმიმდევრული რიგით ჩამოთვლა ვერ შევძელით(იხსნება ახალ ფანჯარაში), რამაც cache miss-ები გამოიწვია. გაითვალისწინეთ, MCP ინსტრუმენტები განსაკუთრებით რთულია, რადგან MCP სერვერებს შეუძლიათ მათ მიერ მოწოდებული ინსტრუმენტების სიის დინამიკურად შეცვლა notifications/tools/list_changed(იხსნება ახალ ფანჯარაში) შეტყობინებით. ხანგრძლივი საუბრის შუაში ამ შეტყობინების პატივისცემამ შეიძლება ძვირადღირებული cache miss გამოიწვიოს.
როდესაც შესაძლებელია, საუბრის შუაში მომხდარ კონფიგურაციის ცვლილებებს ვამუშავებთ ისე, რომ ცვლილების ასასახად input-ს ახალ შეტყობინებას ვუმატებთ, ნაცვლად იმისა, რომ უფრო ადრე არსებული შეტყობინება შევცვალოთ:
- თუ სენდბოქსის კონფიგურაცია ან დამტკიცების რეჟიმი იცვლება, ჩვენ ვამატებთ(იხსნება ახალ ფანჯარაში) ახალ
role=developerშეტყობინებას იმავე ფორმატით, როგორც თავდაპირველ<permissions instructions>ელემენტს. - თუ მიმდინარე სამუშაო დირექტორია იცვლება, ჩვენ ვამატებთ(იხსნება ახალ ფანჯარაში) ახალ
role=userშეტყობინებას იმავე ფორმატით, როგორც თავდაპირველ<environment_context>-ს.
წარმადობისთვის კეშში მოხვედრის უზრუნველსაყოფად დიდ ძალისხმევას ვახმართ. თუმცა კიდევ ერთი საკვანძო რესურსიც გვაქვს სამართავი: კონტექსტის ფანჯარა.
ჩვენი ზოგადი სტრატეგია, რომ კონტექსტის ფანჯარა არ ამოიწუროს, არის საუბრის კომპაქტაცია, როგორც კი token-ების რაოდენობა გარკვეულ ზღვარს გადააჭარბებს. კერძოდ, input-ს ვცვლით ახალი, უფრო პატარა ელემენტების სიით, რომელიც საუბრის წარმომადგენელია და აგენტს საშუალებას აძლევს გააგრძელოს იმის გაგებით, რა მოხდა აქამდე. კომპაქტაციის ადრეული იმპლემენტაცია(იხსნება ახალ ფანჯარაში) მომხმარებლისგან /compact ბრძანების ხელით გაშვებას მოითხოვდა, რაც Responses API-ს არსებული საუბრით და შეჯამებისთვის(იხსნება ახალ ფანჯარაში) განკუთვნილი custom ინსტრუქციებით აკითხავდა. Codex მიღებულ assistant message-ს, რომელიც შეჯამებას შეიცავდა, ახალ input(იხსნება ახალ ფანჯარაში)-ად იყენებდა შემდგომი საუბრის ტურებისთვის.
მას შემდეგ Responses API განვითარდა და ახლა მხარს უჭერს სპეციალურ /responses/compact საბოლოო წერტილს(იხსნება ახალ ფანჯარაში), რომელიც კომპაქტაციას უფრო ეფექტიანად ასრულებს. ის აბრუნებს ელემენტების სიას(იხსნება ახალ ფანჯარაში), რომელიც წინა input-ის ნაცვლად შეიძლება გამოიყენოთ საუბრის გასაგრძელებლად და ამავდროულად კონტექსტის ფანჯარა გაათავისუფლოთ. ეს სია მოიცავს სპეციალურ type=compaction ელემენტს გაუმჭვირვალე encrypted_content ელემენტით, რომელიც მოდელის ლატენტურ გაგებას ინარჩუნებს თავდაპირველი საუბრის შესახებ. ახლა Codex ამ საბოლოო წერტილს ავტომატურად იყენებს საუბრის კომპაქტაციისთვის, როცა auto_compact_limit(იხსნება ახალ ფანჯარაში) გადააჭარბებს.
ჩვენ წარმოვადგინეთ Codex-ის აგენტის ციკლი და ავხსენით, როგორ ქმნის და მართავს Codex თავის კონტექსტს მოდელის გამოკითხვისას. გზადაგზა გამოვყავით პრაქტიკული საკითხები და საუკეთესო პრაქტიკები, რომლებიც ყველას გამოადგება, ვინც Responses API-ის თავზე აგენტის ციკლს აშენებს.
მიუხედავად იმისა, რომ აგენტის ციკლი Codex-ის საფუძველს ქმნის, ეს მხოლოდ დასაწყისია. მომდევნო პოსტებში უფრო ღრმად შევისწავლით CLI-ის არქიტექტურას, განვიხილავთ, როგორ არის განხორციელებული ინსტრუმენტების გამოყენება, და უფრო ახლოდან შევხედავთ Codex-ის სენდბოქსის მოდელს.