Codex CLI(жаңа терезеде ашылады) is our cross-platform local software agent, designed to produce high-quality, reliable software changes while operating safely and efficiently on your machine. We’ve learned a tremendous amount about how to build a world-class software agent since we first launched the CLI in April. To unpack those insights, this is the first post in an ongoing series where we’ll explore various aspects of how Codex works, as well as hard-earned lessons. (For an even more granular view on how the Codex CLI is built, check out our open source repository at https://github.com/openai/codex(жаңа терезеде ашылады). Many of the finer details of our design decisions are memorialized in GitHub issues and pull requests if you’d like to learn more.)
To kick off, we’ll focus on the agent loop, which is the core logic in Codex CLI that is responsible for orchestrating the interaction between the user, the model, and the tools the model invokes to perform meaningful software work. We hope this post gives you a good view into the role our agent (or “harness”) plays in making use of an LLM.
Before we dive in, a quick note on terminology: at OpenAI, “Codex” encompasses a suite of software agent offerings, including Codex CLI, Codex Cloud, and the Codex VS Code extension. This post focuses on the Codex harness, which provides the core agent loop and execution logic that underlies all Codex experiences and is surfaced through the Codex CLI. For ease here, we’ll use the terms “Codex” and “Codex CLI” interchangeably.
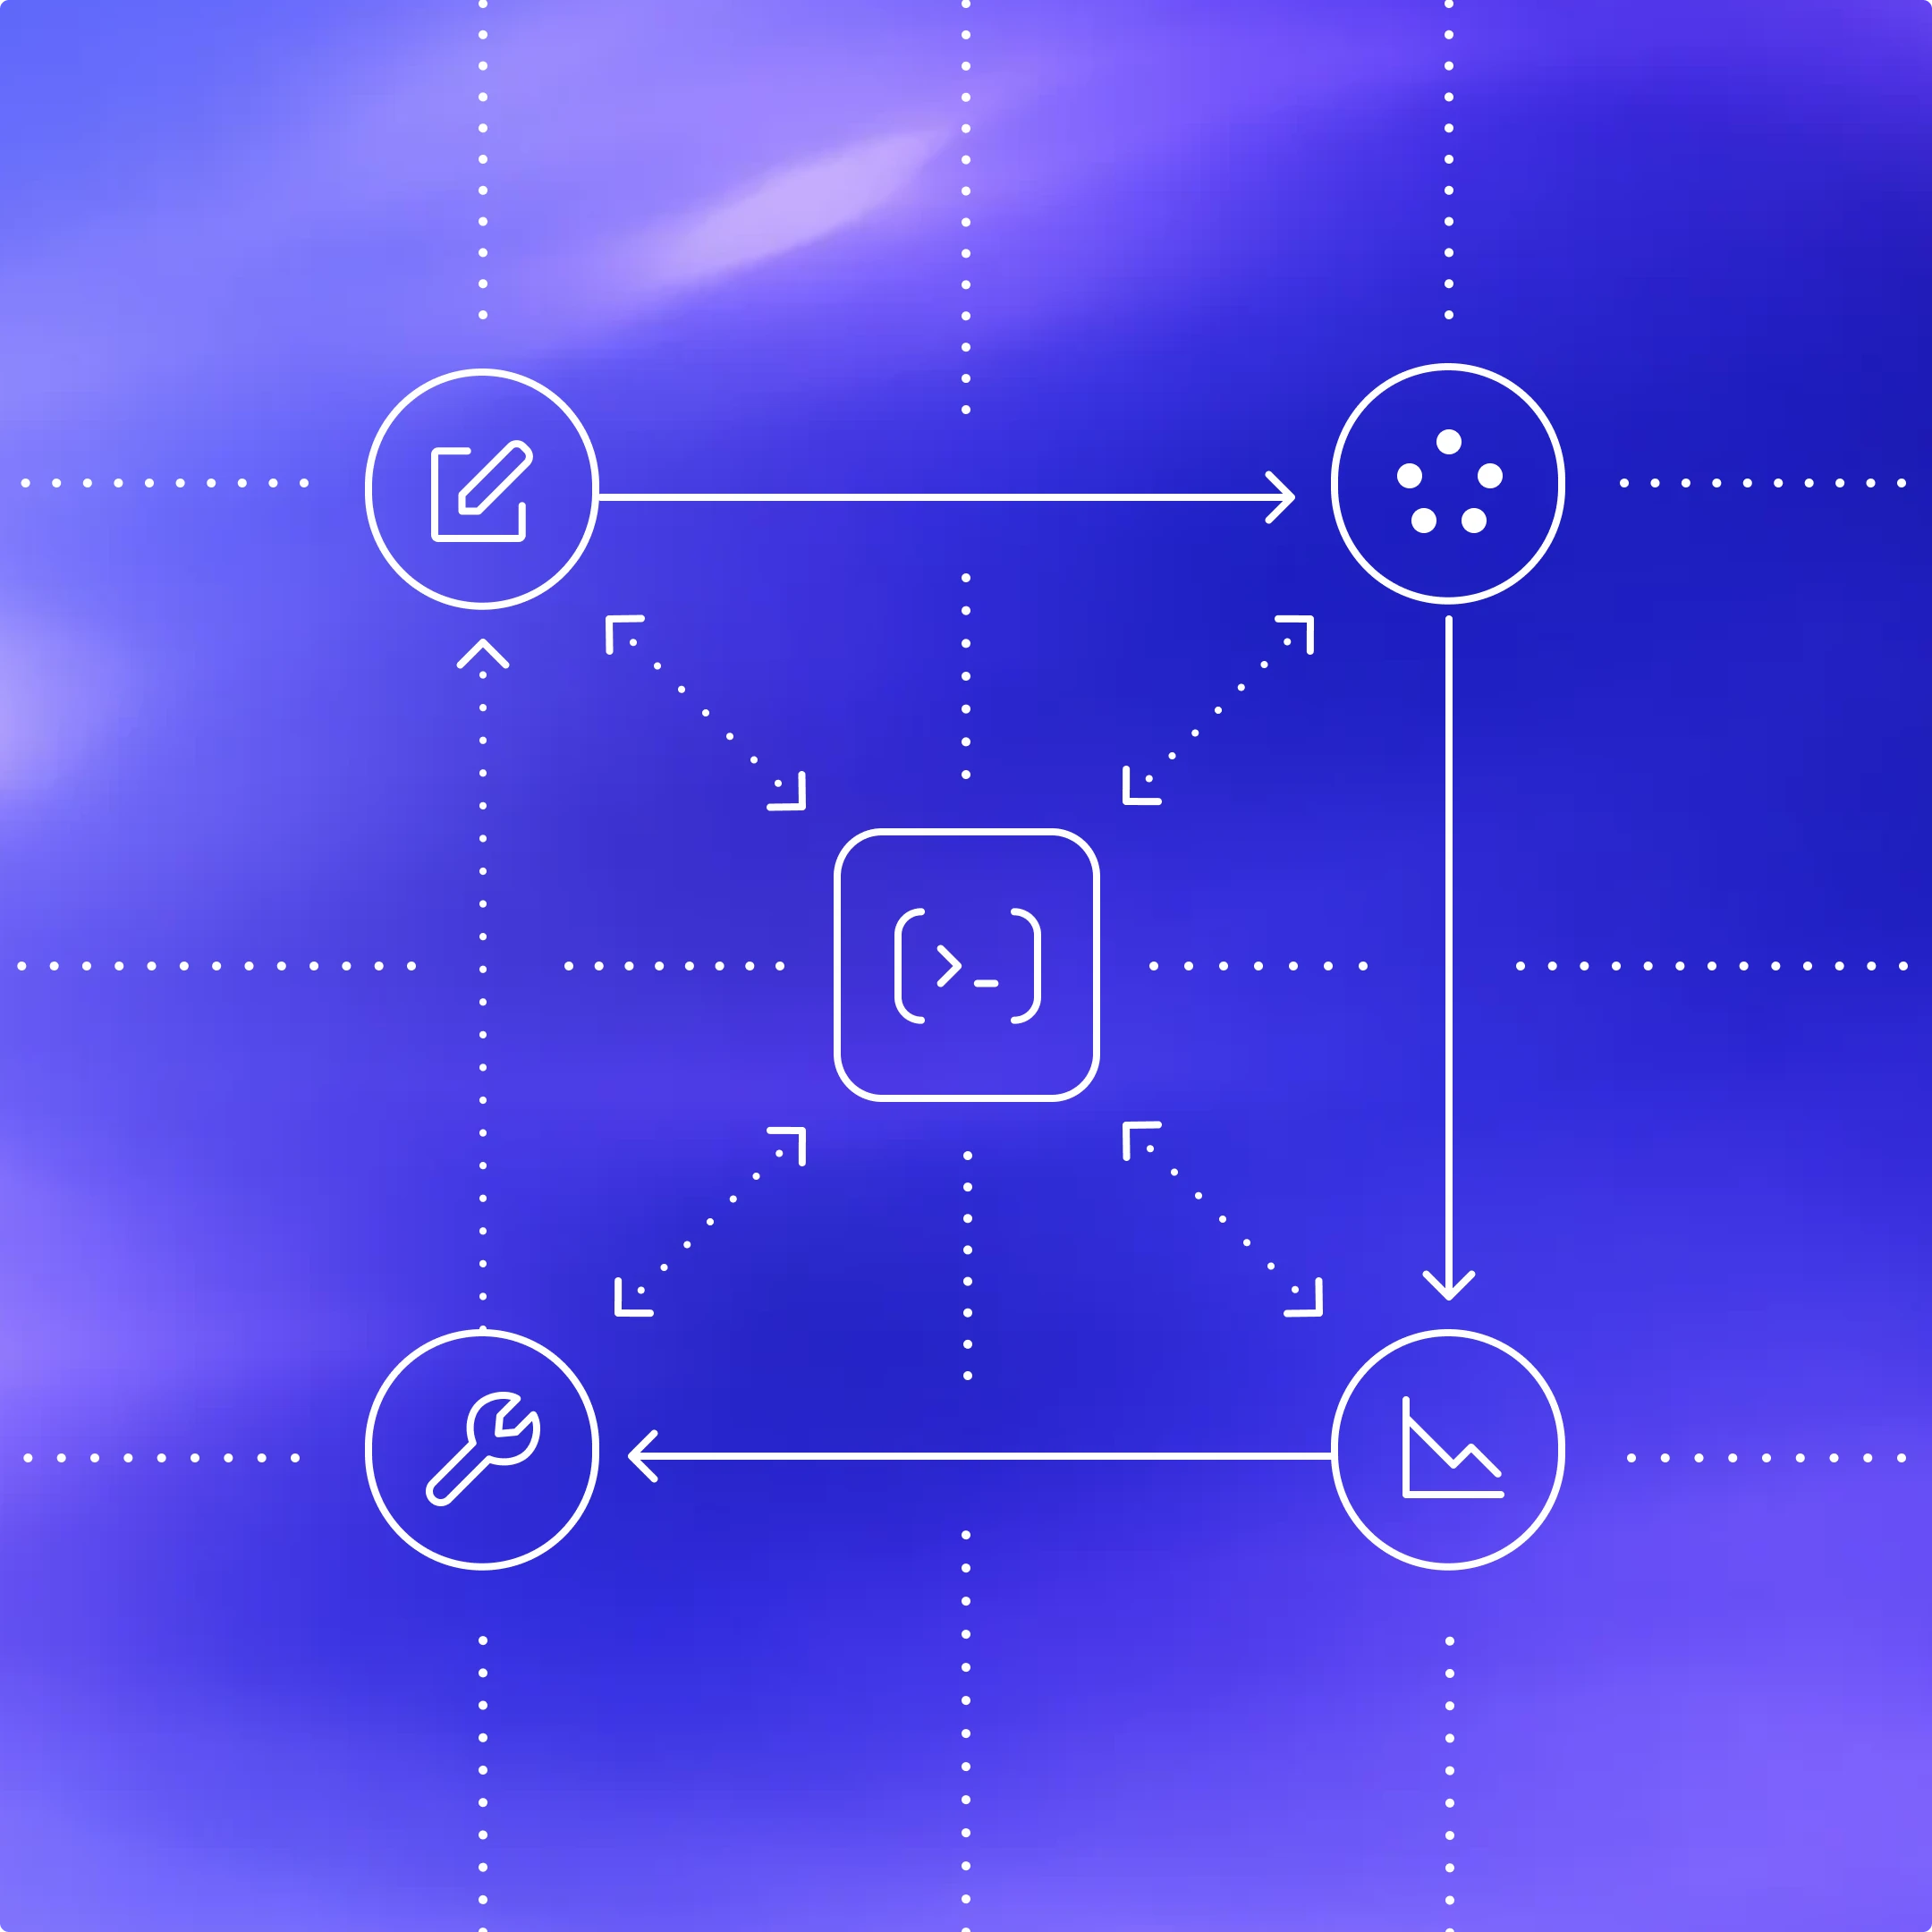
At the heart of every AI agent is something called “the agent loop.” A simplified illustration of the agent loop looks like this:

To start, the agent takes input from the user to include in the set of textual instructions it prepares for the model known as a prompt.
The next step is to query the model by sending it our instructions and asking it to generate a response, a process known as inference. During inference, the textual prompt is first translated into a sequence of input tokens(жаңа терезеде ашылады)—integers that index into the model’s vocabulary. These tokens are then used to sample the model, producing a new sequence of output tokens.
The output tokens are translated back into text, which becomes the model’s response. Because tokens are produced incrementally, this translation can happen as the model runs, which is why many LLM-based applications display streaming output. In practice, inference is usually encapsulated behind an API that operates on text, abstracting away the details of tokenization.
As the result of the inference step, the model either (1) produces a final response to the user’s original input, or (2) requests a tool call that the agent is expected to perform (e.g., “run ls and report the output”). In the case of (2), the agent executes the tool call and appends its output to the original prompt. This output is used to generate a new input that’s used to re-query the model; the agent can then take this new information into account and try again.
This process repeats until the model stops emitting tool calls and instead produces a message for the user (referred to as an assistant message in OpenAI models). In many cases, this message directly answers the user’s original request, but it may also be a follow-up question for the user.
Because the agent can execute tool calls that modify the local environment, its “output” is not limited to the assistant message. In many cases, the primary output of a software agent is the code it writes or edits on your machine. Nevertheless, each turn always ends with an assistant message—such as “I added the architecture.md you asked for”—which signals a termination state in the agent loop. From the agent’s perspective, its work is complete and control returns to the user.
The journey from user input to agent response shown in the diagram is referred to as one turn of a conversation (a thread in Codex). Though this conversation turn can include many iterations between the model inference and tool calls. Every time you send a new message to an existing conversation, the conversation history is included as part of the prompt for the new turn, which includes the messages and tool calls from previous turns:

This means that as the conversation grows, so does the length of the prompt used to sample the model. This length matters because every model has a context window, which is the maximum number of tokens it can use for one inference call. Note this window includes both input and output tokens. As you might imagine, an agent could decide to make hundreds of tool calls in a single turn, potentially exhausting the context window. For this reason, context window management is one of the agent’s many responsibilities. Now, let’s dive in to see how Codex runs the agent loop.
The Codex CLI sends HTTP requests to the Responses API(жаңа терезеде ашылады) to run model inference. We’ll examine how information flows through Codex, which uses the Responses API to drive the agent loop.
The Responses API endpoint that the Codex CLI uses is configurable(жаңа терезеде ашылады), so it can be used with any endpoint that implements the Responses API(жаңа терезеде ашылады):
- When using ChatGPT login(жаңа терезеде ашылады) with the Codex CLI, it uses
https://chatgpt.com/backend-api/codex/responsesas the endpoint - When using API-key authentication(жаңа терезеде ашылады) with OpenAI hosted models, it uses
https://api.openai.com/v1/responsesas the endpoint - When running Codex CLI with
--ossto use gpt-oss with ollama 0.13.4+(жаңа терезеде ашылады) or LM Studio 0.3.39+(жаңа терезеде ашылады), it defaults tohttp://localhost:11434/v1/responsesrunning locally on your computer - Codex CLI can be used with the Responses API hosted by a cloud provider such as Azure
Let’s explore how Codex creates the prompt for the first inference call in a conversation.
As an end user, you don’t specify the prompt used to sample the model verbatim when you query the Responses API. Instead, you specify various input types as part of your query, and the Responses API server decides how to structure this information into a prompt that the model is designed to consume. You can think of the prompt as a “list of items”; this section will explain how your query gets transformed into that list.
In the initial prompt, every item in the list is associated with a role. The role indicates how much weight the associated content should have and is one of the following values (in decreasing order of priority): system, developer, user, assistant.
The Responses API(жаңа терезеде ашылады) takes a JSON payload with many parameters. We’ll focus on these three:
instructions(жаңа терезеде ашылады): system (or developer) message inserted into the model’s contexttools(жаңа терезеде ашылады): a list of tools the model may call while generating a responseinput(жаңа терезеде ашылады): a list of text, image, or file inputs to the model
In Codex, the instructions field is read from the model_instructions_file(жаңа терезеде ашылады) in ~/.codex/config.toml, if specified; otherwise, the base_instructions associated with a model(жаңа терезеде ашылады) are used. Model-specific instructions live in the Codex repo and are bundled into the CLI (e.g., gpt-5.2-codex_prompt.md(жаңа терезеде ашылады)).
The tools field is a list of tool definitions that conform to a schema defined by the Responses API. For Codex, this includes tools that are provided by the Codex CLI, tools that are provided by the Responses API that should be made available to Codex, as well as tools provided by the user, usually via MCP servers:
Finally, the input field of the JSON payload is a list of items. Codex inserts the following items(жаңа терезеде ашылады) into the input before adding the user message:
1. A message with role=developer that describes the sandbox that applies only to the Codex-provided shell tool defined in the tools section. That is, other tools, such as those provided from MCP servers, are not sandboxed by Codex and are responsible for enforcing their own guardrails.
The message is built from a template where the key pieces of content come from snippets of Markdown bundled into the Codex CLI, such as workspace_write.md(жаңа терезеде ашылады) and on_request.md(жаңа терезеде ашылады):
2. (Optional) A message with role=developer whose contents are the developer_instructions value read from the user’s config.toml file.
3. (Optional) A message with role=user whose contents are the “user instructions,” which are not sourced from a single file but are aggregated across multiple sources(жаңа терезеде ашылады). In general, more specific instructions appear later:
- Contents of
AGENTS.override.mdandAGENTS.mdin$CODEX_HOME - Subject to a limit (32 KiB, by default), look in each folder from the Git/project root of the
cwd(if it it exists) up to thecwditself: add the contents of any ofAGENTS.override.md,AGENTS.md, or any filename specified byproject_doc_fallback_filenames in config.toml - If any skills(жаңа терезеде ашылады) have been configured:
- a short preamble about skills
- the skill metadata(жаңа терезеде ашылады) for each skill
- a section on how to use skills(жаңа терезеде ашылады)
4. A message with role=user that describes the local environment in which the agent is currently operating. This specifies the current working directory and the user’s shell(жаңа терезеде ашылады):
Codex input-ті инициализациялау үшін жоғарыда айтылғанның бәрін есептеп болған соң, әңгімені бастау үшін пайдаланушы хабарламасын қосады.
Алдыңғы мысалдар әр хабарламаның мазмұнына назар аударды, бірақ input-тің әр элементі төмендегідей type, role(жаңа терезеде ашылады) және content бар JSON нысаны екенін ескеріңіз:
Responses API-ге жіберілетін толық JSON payload-ты Codex құрып болған соң, ол ~/.codex/config.toml ішінде Responses API соңғы нүктесінің қалай бапталғанына қарай Authorization тақырыбымен HTTP POST сұрауын жібереді (егер көрсетілсе, қосымша HTTP тақырыптары мен сұрау параметрлері де қосылады).
OpenAI Responses API сервері сұрауды алған кезде, ол модельге арналған көмексөзді келесідей шығару үшін JSON-ды пайдаланады (әрине, Responses API-дің теңшелетін іске асырылымы басқа шешім қабылдауы мүмкін):

Көріп тұрғаныңыздай, көмексөздегі алғашқы үш элементтің реті клиентпен емес, сервермен анықталады. Дегенмен сол үш элементтің ішінде тек system message мазмұнын ғана сервер басқарады, өйткені tools пен instructions клиентпен анықталады. Солардан кейін көмексөзді толықтыру үшін JSON payload-тағы input келеді.
Енді көмексөзіміз дайын болғандықтан, модельден іріктеу алуға әзірміз.
Responses API-ге жасалған осы HTTP сұрауы Codex-тегі әңгімелесудің алғашқы «айналымын» бастайды. Сервер Server-Sent Events (SSE(жаңа терезеде ашылады)) ағынымен жауап береді. Әр оқиғаның data өрісі "response" деп басталатын "type" бар JSON payload болады, ол шамамен мынадай болуы мүмкін (оқиғалардың толық тізімін біздің API құжаттамасынан(жаңа терезеде ашылады) табуға болады):
Codex оқиғалар ағынын тұтынады(жаңа терезеде ашылады) және оларды клиент пайдалана алатын ішкі оқиға нысандары ретінде қайта жариялайды. response.output_text.delta сияқты оқиғалар UI-дегі ағындық көрсетуді қолдау үшін пайдаланылады, ал response.output_item.added сияқты басқа оқиғалар кейінгі Responses API шақырулары үшін input-ке қосылатын нысандарға түрлендіріледі.
Responses API-ге жасалған бірінші сұрау екі response.output_item.done оқиғасын қамтиды делік: бірі type=reasoning, екіншісі type=function_call. Модельге құрал шақыру жауабымен қайта сұрау жібергенде бұл оқиғалар JSON-ның input өрісінде көрсетілуі керек:
Кейінгі сұраудың бөлігі ретінде модельден іріктеу алуға пайдаланылатын нәтижелік көмексөз мынадай көрінер еді:

Атап айтқанда, ескі көмексөздің жаңа көмексөздің дәл префиксі екенін байқаңыз. Бұл әдейі жасалған, өйткені осының арқасында кейінгі сұраулар әлдеқайда тиімді болады, себебі ол көмексөзді кэштеу мүмкіндігін пайдалануға жол ашады (өнімділік туралы келесі бөлімде соны талқылаймыз).
Агент циклі туралы алғашқы сызбамызға қайта қарасақ, inference пен құрал шақыру арасында көптеген итерация болуы мүмкін екенін көреміз. Көмексөз ақыр соңында айналымның аяқталғанын білдіретін assistant message алғанға дейін өсе беруі мүмкін:
Codex CLI-де біз assistant message-ті пайдаланушыға көрсетеміз және әңгімені жалғастыру енді оның «кезегі» екенін білдіру үшін composer-ге фокус қоямыз. Егер пайдаланушы жауап берсе, жаңа айналымды бастау үшін алдыңғы айналымдағы assistant message те, пайдаланушының жаңа хабарламасы да Responses API сұрауындағы input-ке қосылуы керек:
Тағы да, біз әңгімені жалғастырып отырғандықтан, Responses API-ге жіберетін input ұзындығы ұлғая береді:

Енді үнемі өсіп отыратын осы көмексөздің өнімділікке не білдіретінін қарастырайық.
Ішіңізден: «Тоқтай тұрыңыз, әңгіме барысында Responses API-ге жіберілетін JSON көлемі бойынша агент циклі квадраттық емес пе?» деп сұрап отырған шығарсыз. Және дұрыс айтасыз. Бұл мәселені азайту үшін Responses API-де қосымша previous_response_id(жаңа терезеде ашылады) параметрі бар болғанымен, Codex оны қазір пайдаланбайды; негізгі себеп — сұрауларды толық күйсіз ұстау және деректерді мүлде сақтамау (ZDR) конфигурацияларын қолдау.
previous_response_id-ден қашу Responses API провайдері үшін бәрін жеңілдетеді, өйткені ол әр сұраудың күйсіз болуын қамтамасыз етеді. Бұл сондай-ақ деректерді мүлде сақтамау (ZDR)(жаңа терезеде ашылады) режимін таңдаған клиенттерді қолдауды да оңайлатады, өйткені previous_response_id-ді қолдауға қажет деректерді сақтау ZDR-ге қайшы болар еді. ZDR клиенттері алдыңғы айналымдардағы меншікті ой қорыту хабарламаларынан пайда көру мүмкіндігін жоғалтпайтынын ескеріңіз, өйткені байланысты encrypted_content серверде дешифрлана алады. (OpenAI ZDR клиентінің дешифрлау кілтін сақтайды, бірақ деректерін сақтамайды.) Codex-ке ZDR қолдауын қосуға қатысты өзгерістер үшін #642(жаңа терезеде ашылады) және #1641(жаңа терезеде ашылады) PR-ларын қараңыз.
Жалпы алғанда, модельден іріктеу құны желі трафигі құнынан басым түседі, сондықтан тиімділік бойынша күш-жігеріміздің негізгі нысаны — іріктеу. Сол себепті көмексөзді кэштеу соншалық маңызды: ол алдыңғы inference шақыруынан есептеуді қайта пайдалануға мүмкіндік береді. Кэш соққылары болғанда, модельден іріктеу квадраттық емес, сызықтық болады. Біздің көмексөзді кэштеу(жаңа терезеде ашылады) құжаттамамыз мұны толығырақ түсіндіреді:
Кэш соққылары тек көмексөз ішіндегі дәл префикс сәйкестіктері үшін ғана мүмкін. Кэштеудің пайдасын көру үшін нұсқаулар мен мысалдар сияқты статикалық мазмұнды көмексөздің басына, ал пайдаланушыға тән ақпарат сияқты айнымалы мазмұнды соңына орналастырыңыз. Бұл суреттер мен құралдарға да қатысты, олар сұраулар арасында бірдей болуы тиіс.
Осыны ескере отырып, Codex-те қандай операциялар «cache miss» тудыруы мүмкін екенін қарастырайық:
- Әңгіменің ортасында модельге қолжетімді
tools-ті өзгерту. - Responses API сұрауының мақсаты болып тұрған
model-ді өзгерту (іс жүзінде бұл бастапқы көмексөздегі үшінші элементті өзгертеді, өйткені онда модельге тән нұсқаулар бар). - Sandbox конфигурациясын, мақұлдау режимін немесе ағымдағы жұмыс каталогын өзгерту.
Codex командасы көмексөзді кэштеуге нұқсан келтіруі мүмкін жаңа мүмкіндіктерді Codex CLI-ге енгізгенде барынша мұқият болуы керек. Мысал ретінде, MCP құралдарын бастапқы қолдау кезінде біз құралдарды бірізді ретпен тізімдей алмаған қате жібердік(жаңа терезеде ашылады), соның салдарынан кэштен мүлт кетулер болды. MCP құралдарының әсіресе күрделі болуы мүмкін екенін ескеріңіз, себебі MCP серверлері беретін құралдар тізімін notifications/tools/list_changed(жаңа терезеде ашылады) хабарламасы арқылы ұшып келе жатып өзгерте алады. Осындай хабарламаны ұзақ әңгіме ортасында ескерудің өзі қымбат cache miss тудыруы мүмкін.
Мүмкін болғанда, әңгіме ортасында болатын конфигурация өзгерістерін ертеректегі хабарламаны түзетудің орнына өзгерісті көрсету үшін input-ке жаңа хабарлама қосу арқылы өңдейміз:
- Егер sandbox конфигурациясы немесе мақұлдау режимі өзгерсе, біз бастапқы
<permissions instructions>элементімен бірдей форматтағы жаңаrole=developerхабарламасын енгіземіз(жаңа терезеде ашылады). - Егер ағымдағы жұмыс каталогы өзгерсе, біз бастапқы
<environment_context>форматына ұқсас жаңаrole=userхабарламасын енгіземіз(жаңа терезеде ашылады).
Өнімділік үшін кэш соққыларын қамтамасыз етуге көп күш саламыз. Басқаруымыз керек тағы бір негізгі ресурс бар: контекст терезесі.
Контекст терезесі таусылып қалмауы үшін біздің жалпы стратегиямыз — токендер саны белгілі бір шектен асқанда әңгімені ықшамдау. Нақтырақ айтқанда, біз input-ті әңгімені бейнелейтін, кішірек жаңа элементтер тізімімен алмастырамыз; бұл агентке осы уақытқа дейін не болғанын түсіне отырып жалғастыруға мүмкіндік береді. Ықшамдаудың ерте іске асырылымы(жаңа терезеде ашылады) пайдаланушыдан /compact пәрменін қолмен шақыруды талап етті, сонда ол бұрыннан бар әңгіме мен түйіндеуге(жаңа терезеде ашылады) арналған теңшелетін нұсқауларды пайдаланып Responses API-ге сұрау жіберетін. Codex алынған, түйіндемесі бар assistant message-ті кейінгі әңгіме айналымдары үшін жаңа input ретінде(жаңа терезеде ашылады) қолданды.
Содан бері Responses API ықшамдауды анағұрлым тиімді орындайтын арнайы /responses/compact соңғы нүктесін(жаңа терезеде ашылады) қолдау үшін дамыды. Ол алдыңғы input-тің орнына қолданылып, контекст терезесін босата отырып әңгімені жалғастыруға болатын элементтер тізімін(жаңа терезеде ашылады) қайтарады. Бұл тізімге бастапқы әңгімені модельдің жасырын түсінігін сақтайтын, мөлдір емес encrypted_content элементі бар арнайы type=compaction элементі кіреді. Енді Codex auto_compact_limit(жаңа терезеде ашылады) асқан кезде әңгімені ықшамдау үшін осы соңғы нүктені автоматты түрде пайдаланады.
Біз Codex агент циклін таныстырып, модельге сұрау жібергенде Codex өзінің контекстін қалай құрастырып, басқаратынын көрсеттік. Жол-жөнекей біз Responses API үстінде агент циклі құрып жатқан кез келген адамға қолданылатын практикалық жайттар мен озық тәжірибелерді атап өттік.
Агент циклі Codex-тің негізін бергенімен, бұл тек бастамасы ғана. Алдағы жазбаларда біз CLI архитектурасын тереңірек қарастырамыз, құралдарды пайдалану қалай іске асырылатынын зерттейміз және Codex-тің sandboxing моделіне жақынырақ үңілеміз.