Unlocking the Codex harness: how we built the App Server
By Celia Chen, Member of the Technical Staff
OpenAI’s coding agent Codex exists across many different surfaces: the web app(იხსნება ახალ ფანჯარაში), the CLI(იხსნება ახალ ფანჯარაში), the IDE extension(იხსნება ახალ ფანჯარაში), and the new Codex macOS app. Under the hood, they’re all powered by the same Codex harness—the agent loop and logic that underlies all Codex experiences. The critical link between them? The Codex App Server(იხსნება ახალ ფანჯარაში), a client-friendly, bidirectional JSON-RPC1 API.
In this post, we’ll introduce the Codex App Server; we’ll share our learnings so far on the best ways to bring Codex’s capabilities into your product to help your users supercharge their workflows. We’ll cover the App Server’s architecture and protocol and how it integrates with different Codex surfaces, as well as tips on leveraging Codex, whether you want to turn Codex into a code reviewer, an SRE agent, or a coding assistant.
Before diving into architecture, it’s helpful to know the App Server’s backstory. Initially, the App Server was a practical way to reuse the Codex harness across products that gradually evolved into our standard protocol.
Codex CLI started as a TUI (terminal user interface), meaning Codex is accessed through the terminal. When we built the VS Code extension (a more IDE-friendly way to interact with Codex agents), we needed a way to use the same harness so as to drive the same agent loop from an IDE UI without re-implementing it. That meant supporting rich interaction patterns beyond request/response, such as exploring the workspace, streaming progress as the agent reasons, and emitting diffs. We first experimented with exposing Codex as an MCP server(იხსნება ახალ ფანჯარაში), but maintaining MCP semantics in a way that made sense for VS Code proved difficult. Instead, we introduced a JSON-RPC protocol that mirrored the TUI loop, which became the unofficial first version(იხსნება ახალ ფანჯარაში) of the App Server. At the time, we didn’t expect other clients to depend on the App Server, so it wasn’t designed as a stable API.
As Codex adoption grew over the next few months, internal teams and external partners wanted the ability to embed the same harness in their own products in order to accelerate their users’ software development workflows. For example, JetBrains and Xcode wanted an IDE-grade agent experience, while the Codex desktop app needed to orchestrate many Codex agents in parallel. Those demands pushed us to design a platform surface that both our products and partner integrations could safely depend on over time. It needed to be easy to integrate and backward compatible, meaning we could evolve the protocol without breaking existing clients.
Next, we’ll walk through how we designed the architecture and protocol so different clients can use the same harness.
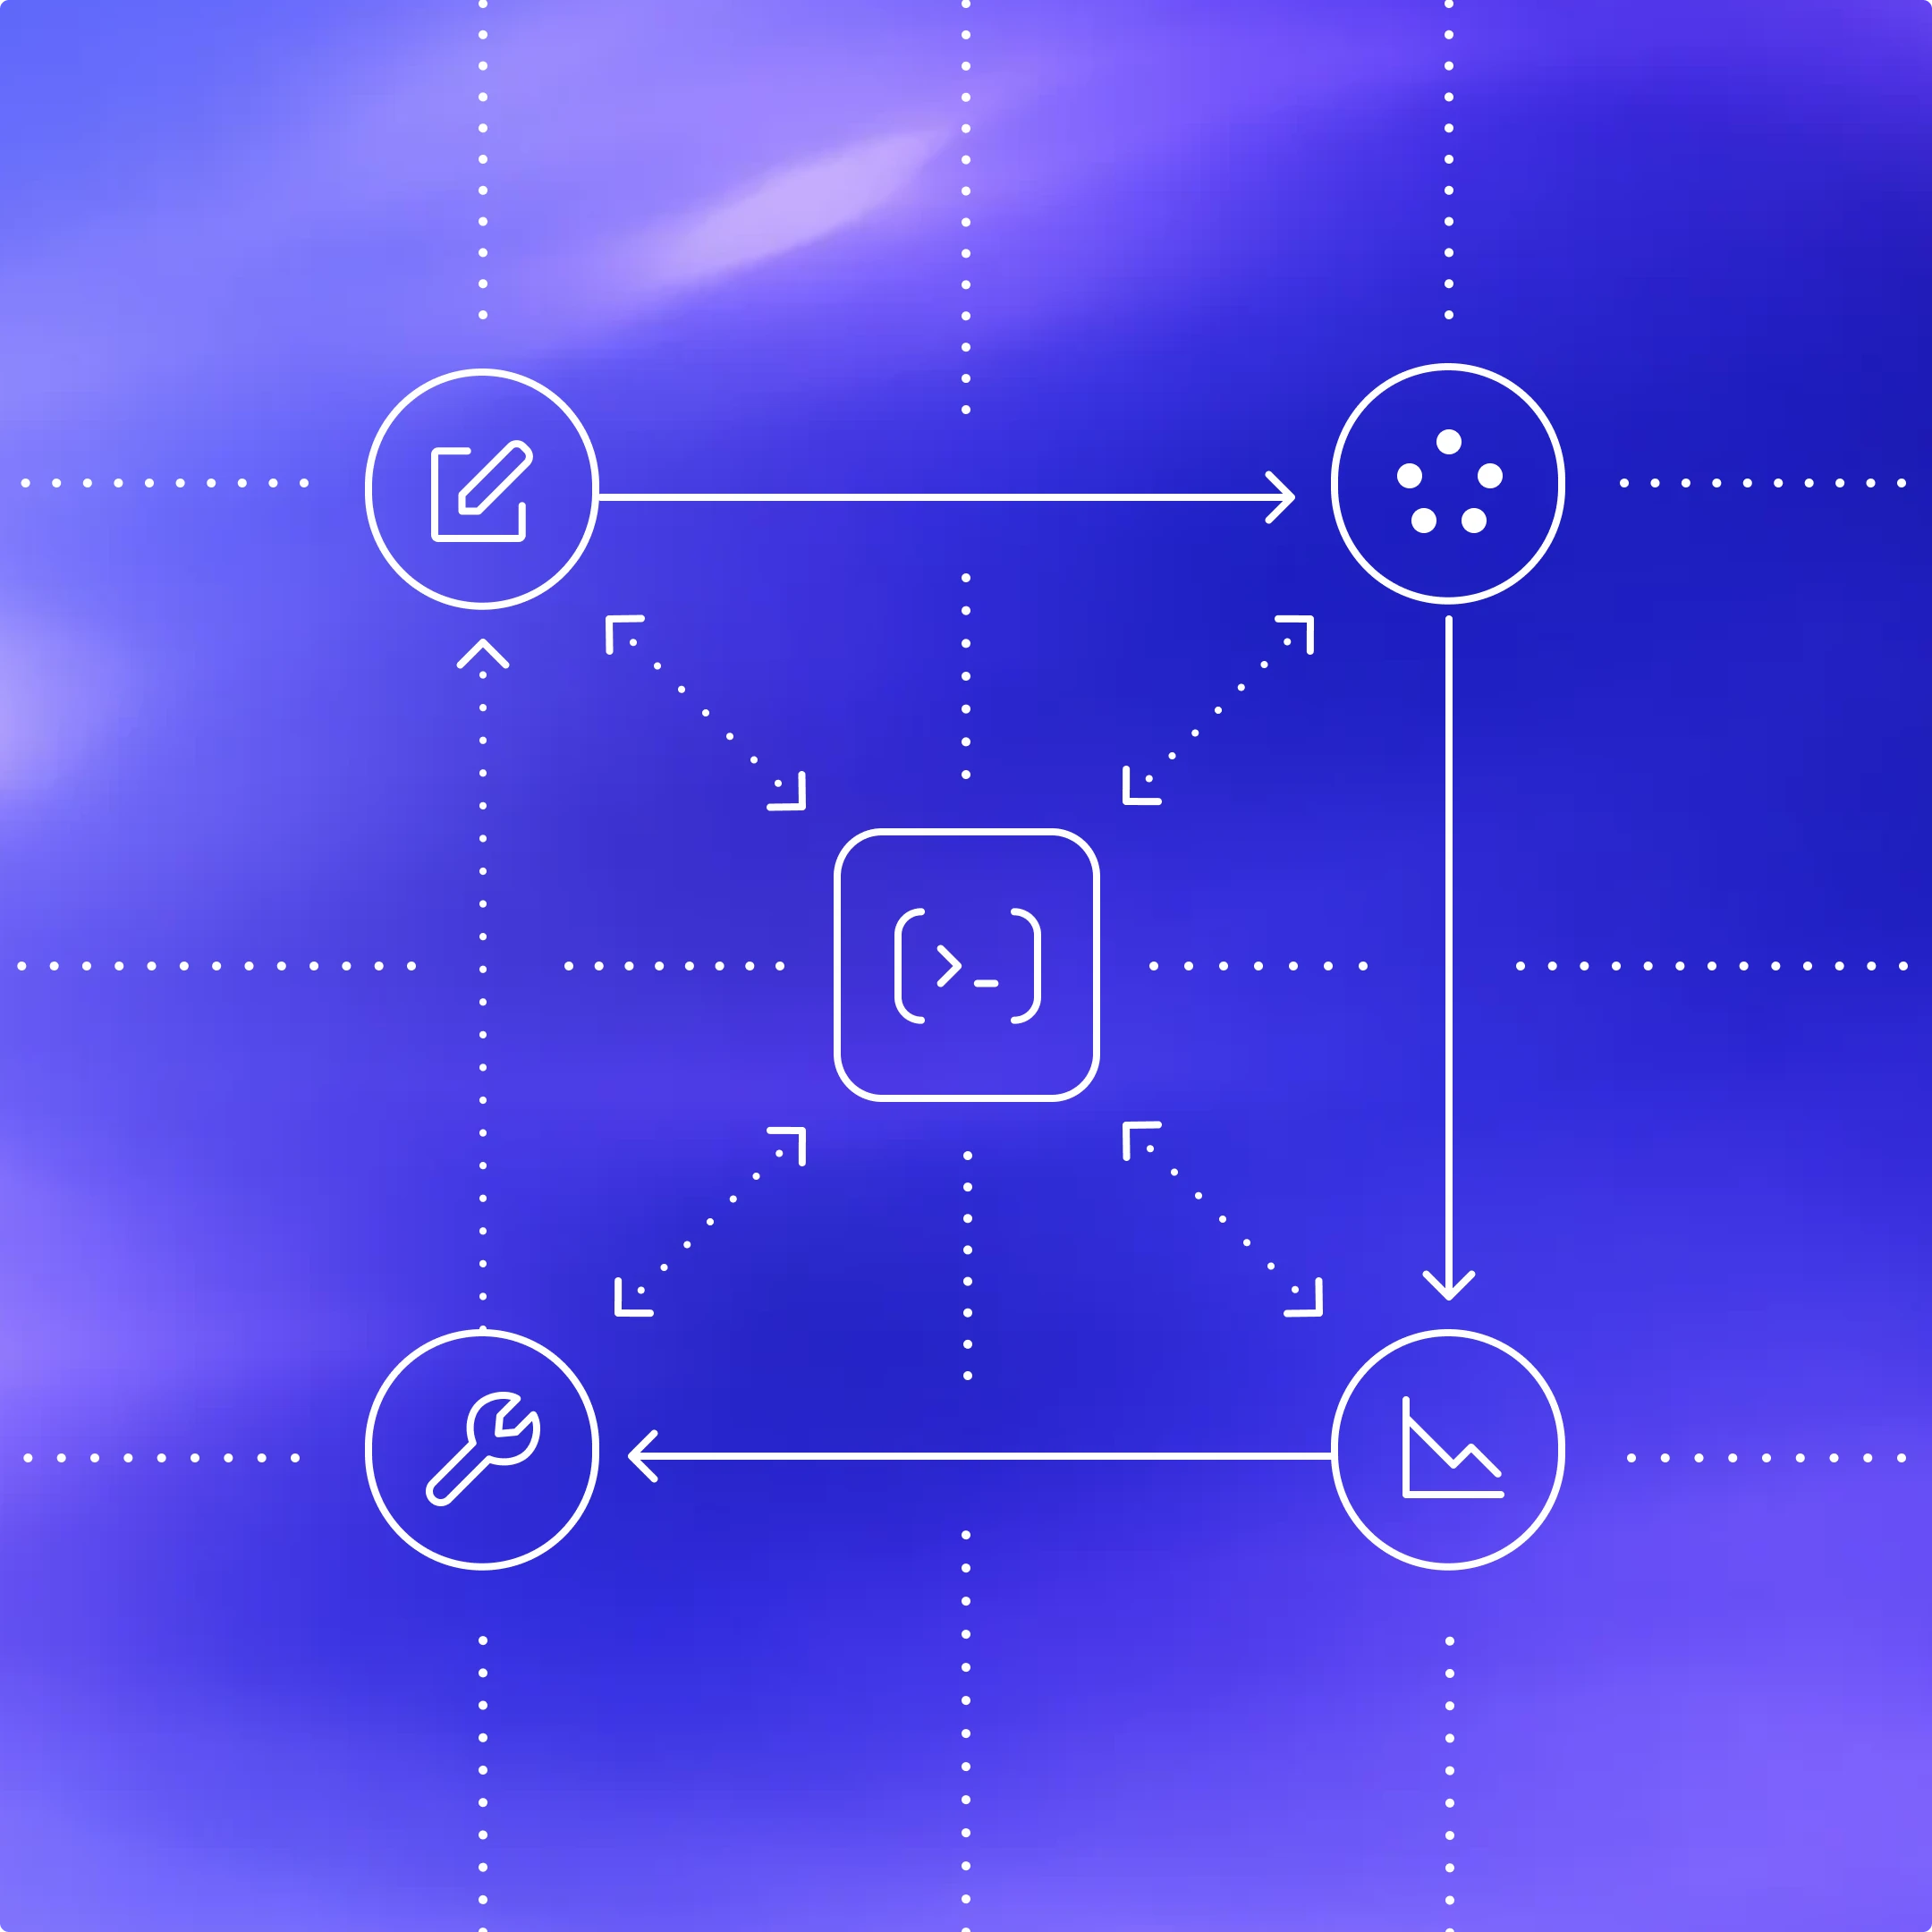
First, let’s zoom in on what’s inside the Codex harness and how the Codex App Server exposes it to clients. In our last Codex blog, we broke down the core agent loop that orchestrates the interaction between the user, the model, and the tools. This is the core logic of the Codex harness, but there’s more to the full agent experience:
1. Thread lifecycle and persistence. A thread is a Codex conversation between a user and an agent. Codex creates, resumes, forks, and archives threads, and persists the event history so clients can reconnect and render a consistent timeline.
2. Config and auth. Codex loads configuration, manages defaults, and runs authentication flows like “Sign in with ChatGPT,” including credential state.
3. Tool execution and extensions. Codex executes shell/file tools in a sandbox and wires up integrations like MCP servers and skills so they can participate in the agent loop under a consistent policy model.
All the agent logic we mentioned here, including the core agent loop, lives in a part of the Codex CLI codebase called “Codex core(იხსნება ახალ ფანჯარაში).” Codex core is both a library where all the agent code lives and a runtime that can be spun up to run the agent loop and manage the persistence of one Codex thread (conversation).
To be useful, the Codex harness needs to be accessible to clients. That’s where the App Server comes in.

The App Server is both the JSON-RPC protocol between the client and the server and a long-lived process that hosts the Codex core threads. As we can see from the diagram above, an App Server process has four main components: the stdio reader, the Codex message processor, the thread manager, and core threads. The thread manager spins up one core session for each thread, and the Codex message processor then communicates with each core session directly to submit client requests and receive updates.
One client request can result in many event updates, and these detailed events are what allow us to build a rich UI on top of the App Server. Furthermore, the stdio reader and the Codex message processor serve as the translation layer between the client and Codex core threads. They translate client JSON-RPC requests into Codex core operations, listen to Codex core’s internal event stream, and then transform those low-level events into a small set of stable, UI-ready JSON-RPC notifications.
The JSON-RPC protocol between the client and the App Server is fully bidirectional. A typical thread has a client request and many server notifications. In addition, the server can initiate requests when the agent needs input, like an approval, and then pause the turn until the client responds.
Next, we’ll break down the conversation primitives, the building blocks of the App Server protocol. Designing an API for an agent loop is tricky because the user/agent interaction is not a simple request/response. One user request can unfold into a structured sequence of actions that the client needs to represent faithfully: the user’s input, the agent’s incremental progress, artifacts produced along the way (e.g., diffs). To make that interaction stream easy to integrate and resilient across UIs, we landed on three core primitives with clear boundaries and lifecycles:
1. Item: An item is the atomic unit of input/output in Codex. Items are typed (e.g., user message, agent message, tool execution, approval request, diff) and each has an explicit lifecycle:
item/startedwhen the item begins- optional
item/*/deltaevents as content streams in (for streaming item types) item/completedwhen the item finalizes with its terminal payload
This lifecycle lets clients start rendering immediately on started, stream incremental updates on delta, and finalize on completed.
2. Turn: A turn is one unit of agent work initiated by user input. It begins when the client submits an input (for example, “run tests and summarize failures”) and ends when the agent finishes producing outputs for that input. A turn contains a sequence of items that represent the intermediate steps and outputs produced along the way.
3. Thread: A thread is the durable container for an ongoing Codex session between a user and an agent. It contains multiple turns. Threads can be created, resumed, forked, and archived. Thread history is persisted so clients can reconnect and render a consistent timeline.
Now, we’ll look at a simplified conversation between a client and an agent, where the conversation is represented by primitives:

At the beginning of the conversation, the client and the server need to establish the initialize handshake. The client must send a single initialize request before any other method, and the server acknowledges with a response. This gives the server a chance to advertise capabilities and lets both sides agree on protocol versioning, feature flags, and defaults before the real work begins. Here’s an example payload from OpenAI’s VS Code extension:
This is what the server returns:

When a client makes a new request, it will first create a thread and then a turn. The server will send back notifications for progress (thread/started and turn/started). It will also send back inputs it registers as items, like the user message here.

Tool calls are also sent back to the client as items. Additionally, the server may ask for client approval before it can run an action by sending a server request. The approval will pause the turn until the client replies with either “allow” or “deny.” This is what the approval flow looks like in the VS Code extension:


In the end, the server sends an agent message and then ends the turn with turn/completed. The agent message delta events stream pieces of the message back until the message is finalized with item/completed.
დიაგრამაში შეტყობინებები გამარტივებულია უკეთ წაკითხვისთვის. თუ სრული turn-ის JSON-ის ნახვა გსურთ, შეგიძლიათ Codex CLI-ის რეპოზიტორიუმიდან გაუშვათ ტესტ-კლიენტი:
ახლა ვნახოთ, როგორ ათავსებს სხვადასხვა კლიენტური ზედაპირი Codex-ს App Server-ის მეშვეობით. განვიხილავთ სამ პატერნს: ადგილობრივ აპებსა და IDE-ებს, Codex-ის ვებ-რანტაიმს და TUI-ს.

სამივეში ტრანსპორტი არის JSON-RPC stdio-ზე (JSONL). JSON-RPC ამარტივებს კლიენტის binding-ების შექმნას თქვენთვის სასურველ ენაში. Codex-ის ზედაპირებმა და პარტნიორულმა ინტეგრაციებმა App Server-ის კლიენტები დანერგეს ისეთ ენებზე, როგორიცაა Go, Python, TypeScript, Swift და Kotlin. TypeScript-ისთვის განსაზღვრებები შეგიძლიათ პირდაპირ Rust-ის პროტოკოლიდან დააგენერიროთ შემდეგი ბრძანებით:
სხვა ენებისთვის შეგიძლიათ JSON Schema-ს პაკეტი დააგენერიროთ და გადასცეთ თქვენთვის სასურველ კოდის გენერატორს შემდეგი ბრძანებით:

ადგილობრივი კლიენტები, როგორც წესი, აერთიანებენ ან იღებენ პლატფორმისთვის სპეციფიკურ App Server-ის ბინარულ ფაილს, უშვებენ მას როგორც ხანგრძლივად მომუშავე შვილ პროცესს და JSON-RPC-სთვის ღიად ინარჩუნებენ ორმხრივ stdio არხს. მაგალითად, ჩვენს VS Code-ის გაფართოებასა და Desktop App-ში მიწოდებული არტეფაქტი მოიცავს პლატფორმისთვის სპეციფიკურ Codex ბინარს და მიბმულია შემოწმებულ ვერსიაზე, რათა კლიენტმა ყოველთვის ზუსტად ის ბიტები გაუშვას, რომლებიც ვალიდირებული გვაქვს.
ყველა ინტეგრაციას არ შეუძლია კლიენტის განახლებების ხშირად მიწოდება. ზოგი პარტნიორი, მაგალითად Xcode, რელიზის ციკლებს ყოფს იმით, რომ კლიენტს სტაბილურად ტოვებს და საჭიროებისას უფრო ახალ App Server-ის ბინარზე მიუთითებს. ასე მათ შეუძლიათ მიიღონ სერვერის მხარის გაუმჯობესებები (მაგალითად, უკეთესი ავტო-კომპაქტაცია Codex core-ში ან ახლად მხარდაჭერილი კონფიგურაციის გასაღებები) და გაავრცელონ შეცდომების გასწორებები კლიენტის ახალი რელიზის ლოდინის გარეშე. App Server-ის JSON-RPC ზედაპირი შექმნილია უკუმიმართულად თავსებადად, ამიტომ ძველ კლიენტებს შეუძლიათ უსაფრთხოდ ესაუბრონ ახალ სერვერებს.

Codex Web იყენებს Codex harness-ს, მაგრამ უშვებს მას კონტეინერულ გარემოში. worker ამზადებს კონტეინერს გამოტანილი სამუშაო სივრცით, მის შიგნით უშვებს App Server-ის ბინარს და ინარჩუნებს ხანგრძლივ JSON-RPC over stdio2 არხს. ვებ-აპი (რომელიც მომხმარებლის ბრაუზერის ჩანართში მუშაობს) Codex backend-ს ესაუბრება HTTP-ით და SSE-ით, რომელიც worker-ის მიერ გენერირებულ task მოვლენებს სტრიმავს. ეს ბრაუზერის მხარის UI-ს მსუბუქს ტოვებს და ამავე დროს გვაძლევს თანმიმდევრულ რანტაიმს დესკტოპსა და ვებზე.
რადგან ვებ-სესიები ეფემერულია (ჩანართები იხურება, ქსელები წყდება), ვებ-აპი ვერ იქნება ხანგრძლივად მიმდინარე ამოცანების სანდო წყარო. მდგომარეობისა და პროგრესის სერვერზე შენახვა ნიშნავს, რომ მუშაობა გრძელდება მაშინაც კი, თუ ჩანართი გაქრება. სტრიმინგის პროტოკოლი და შენახული thread სესიები ამარტივებს ახალ სესიას ხელახლა დაკავშირებას, გაგრძელებას იქიდან, სადაც გაჩერდა, და მდგომარეობის კლიენტში თავიდან აწყობის გარეშე დაწევას.

ისტორიულად, TUI იყო „ნატიური“ კლიენტი, რომელიც მუშაობდა იმავე პროცესში, სადაც აგენტის ციკლი, და app-server პროტოკოლის ნაცვლად პირდაპირ Rust core ტიპებს ესაუბრებოდა. ეს ადრეულ იტერაციას აჩქარებდა, თუმცა TUI-ს განსაკუთრებულ შემთხვევადაც აქცევდა.
ახლა, როცა App Server უკვე არსებობს, ვგეგმავთ TUI-ის რეფაქტორინგს(იხსნება ახალ ფანჯარაში), რათა ის გამოიყენოს და ნებისმიერი სხვა კლიენტივით მოიქცეს: გაუშვას App Server-ის შვილ-პროცესი, ისაუბროს JSON-RPC-ით stdio-ზე და აჩვენოს იგივე სტრიმინგ-მოვლენები და დამტკიცებები. ეს ხსნის ისეთ სამუშაო პროცესებს, სადაც TUI-ს შეუძლია დაუკავშირდეს Codex სერვერს, რომელიც დისტანციურ მანქანაზე მუშაობს, შეინარჩუნოს აგენტი გამოთვლასთან ახლოს და გააგრძელოს მუშაობა მაშინაც კი, თუ ლეპტოპი დაიძინებს ან კავშირი გაწყდება, და მაინც ადგილობრივად მოგაწოდოთ ცოცხალი განახლებები და კონტროლები.
Codex App Server იქნება პირველი კლასის ინტეგრაციის მეთოდი, რომელსაც მომავალშიც შევინარჩუნებთ, თუმცა არსებობს სხვა მეთოდებიც უფრო შეზღუდული ფუნქციონალით. ნაგულისხმევად, კლიენტებს ვურჩევთ Codex-თან ინტეგრაციისთვის გამოიყენონ Codex App Server, მაგრამ ღირს სხვადასხვა ინტეგრაციის მეთოდის ნახვა და მათი პლუსებისა და მინუსების გაგებაც. ქვემოთ მოყვანილია Codex-ის მართვის ყველაზე გავრცელებული გზები და შემთხვევები, როცა თითოეული მათგანი შეიძლება კარგი არჩევანი იყოს.
გაუშვით codex mcp-server(იხსნება ახალ ფანჯარაში) და დაუკავშირდით ნებისმიერი MCP კლიენტიდან, რომელსაც stdio სერვერების მხარდაჭერა აქვს (მაგალითად, OpenAI Agents SDK(იხსნება ახალ ფანჯარაში)). ეს კარგი არჩევანია, თუ უკვე გაქვთ MCP-ზე დაფუძნებული სამუშაო პროცესი და გსურთ Codex-ის გამოძახებადი ინსტრუმენტის სახით გამოყენება. მინუსი ისაა, რომ იღებთ მხოლოდ იმას, რასაც MCP აჩენს, ამიტომ Codex-სპეციფიკური ინტერაქციები, რომლებიც უფრო მდიდარ სესიურ სემანტიკას ეყრდნობა (მაგალითად, diff განახლებები), შეიძლება MCP საბოლოო წერტილებზე სუფთად ვერ დაეტიოს.
ზოგი ეკოსისტემა გვთავაზობს პორტატულ ინტერფეისს, რომელსაც შეუძლია მიმართოს მრავალ მოდელის მომწოდებელსა და რანტაიმს. ეს კარგი არჩევანია, თუ გსურთ ერთი აბსტრაქცია, რომელიც მრავალ აგენტს კოორდინაციას გაუწევს. კომპრომისი ისაა, რომ ასეთი პროტოკოლები ხშირად შესაძლებლობების საერთო მინიმუმზე იყრიან თავს, რაც უფრო მდიდარი ინტერაქციების წარმოდგენას ართულებს, განსაკუთრებით მაშინ, როცა მნიშვნელოვანია მომწოდებლისთვის სპეციფიკური ინსტრუმენტებისა და სესიების სემანტიკა. ეს სივრცე სწრაფად ვითარდება და ველით, რომ მეტი საერთო სტანდარტი გაჩნდება, როცა რეალური აგენტური სამუშაო პროცესების წარმოსადგენ საუკეთესო პრიმიტივებს უკეთ გავარკვევთ (skills(იხსნება ახალ ფანჯარაში) ამის კარგი მაგალითია).
აირჩიეთ App Server მაშინ, როცა გსურთ სრული Codex harness იყოს წარმოდგენილი როგორც სტაბილური, UI-სთვის მოსახერხებელი მოვლენების ნაკადი. თქვენ იღებთ როგორც agent loop-ის სრულ ფუნქციონალს, ისე სხვა დამხმარე შესაძლებლობებსაც, როგორიცაა Sign in with ChatGPT, მოდელის აღმოჩენა და კონფიგურაციის მართვა. მთავარი ფასი ინტეგრაციის სამუშაოა, რადგან კლიენტის მხარეს JSON-RPC binding უნდა ააწყოთ თქვენს ენაში. პრაქტიკაში კი Codex-ს შეუძლია მძიმე სამუშაოს დიდი ნაწილის შესრულება, თუ JSON schema-ს და დოკუმენტაციას მიაწვდით. ბევრმა გუნდმა, რომლებთანაც ვიმუშავეთ, Codex-ის გამოყენებით სწრაფად შეძლო მუშა ინტეგრაციის შექმნა.
მსუბუქი, სკრიპტირებადი CLI რეჟიმი ერთჯერადი ამოცანებისა და CI გაშვებებისთვის. ეს კარგი არჩევანია ავტომატიზაციისა და pipeline-ებისთვის, როცა გსურთ ერთი ბრძანება არაინტერაქციულად ბოლომდე შესრულდეს, ჟურნალებისთვის დაასტრიმოს სტრუქტურირებული გამომავალი და დასრულდეს წარმატების ან წარუმატებლობის მკაფიო სიგნალით.
TypeScript ბიბლიოთეკა, რომელიც თქვენი საკუთარი აპლიკაციიდან ადგილობრივი Codex აგენტების პროგრამულად სამართავად გამოიყენება. საუკეთესოა მაშინ, როცა სერვერის მხარის ინსტრუმენტებისა და სამუშაო პროცესებისთვის გსურთ ნატიური ბიბლიოთეკური ინტერფეისი ცალკე JSON-RPC კლიენტის აგების გარეშე. რადგან ის App Server-ზე ადრე გამოვიდა, ამჟამად ნაკლებ ენასა და უფრო მცირე ზედაპირს უჭერს მხარს. თუ დეველოპერების ინტერესი იქნება, შეიძლება დამატებითი SDK-ებიც დავამატოთ, რომლებიც App Server-ის პროტოკოლს შემოახვევს, რათა გუნდებმა harness-ის ზედაპირის მეტი ნაწილი დაფარონ JSON-RPC binding-ების დაწერის გარეშე.
ამ პოსტში გაგიზიარეთ, როგორ ვუდგებით აგენტებთან ურთიერთობის ახალი სტანდარტის დიზაინს და როგორ ვაქცევთ Codex harness-ს სტაბილურ, კლიენტისთვის მოსახერხებელ პროტოკოლად. განვიხილეთ, როგორ აჩენს App Server Codex core-ს, როგორ აძლევს კლიენტებს სრული agent loop-ის მართვის საშუალებას და როგორ ამოძრავებს მრავალფეროვან ზედაპირებს, მათ შორის TUI-ს, ადგილობრივ IDE ინტეგრაციებს და ვებ-რანტაიმს.
თუ ამან Codex-ის თქვენს სამუშაო პროცესებში ინტეგრაციის იდეები გაგიჩინათ, ღირს App Server-ის გამოცდა. მთელი საწყისი კოდი განთავსებულია Codex CLI-ის ღია კოდის რეპოში(იხსნება ახალ ფანჯარაში). თამამად გაგვიზიარეთ თქვენი უკუკავშირი და ფუნქციების მოთხოვნები. გვიხარია თქვენგან მოსმენა და აგენტების ყველასთვის უფრო ხელმისაწვდომად ქცევის გაგრძელება.
ავტორი
მადლობები
განსაკუთრებული მადლობა Michael Bolin-ს, Owen Lin-ს, Eric Traut-ს და Rasmus Rygaard-ს, რომლებმაც ამ პოსტში წვლილი შეიტანეს, და მთელ Codex გუნდს, რომელმაც App Server-ზე იმუშავა.
სქოლიოები
- 1
ჩვენ ვიყენებთ „JSON‑RPC lite“ ვარიანტს: ის ინარჩუნებს მოთხოვნის/პასუხის/შეტყობინების ფორმას, მაგრამ ტოვებს
"jsonrpc": "2.0"სათაურს და strict JSON‑RPC 2.0-ის ნაცვლად stdio-ზე JSONL-ად არის ჩარჩოებში მოქცეული. - 2
„stdio“ გულისხმობს app-server-ის stdin/stdout-ს კონტეინერის შიგნით. ჰოსტირებულ განლაგებებში ეს ნაკადები ხშირად მუდმივ ქსელურ კავშირზეა გვირაბით გადაყვანილი (მაგალითად, WebSocket-ის მსგავსი გზით) კონტეინერის რანტაიმამდე — ამიტომ ის stdio-სავით იქცევა, მაშინაც კი, თუ პირდაპირი ადგილობრივი pipe არ არის.