Codex CLI(mbukak ing jendhela anyar) is our cross-platform local software agent, designed to produce high-quality, reliable software changes while operating safely and efficiently on your machine. We’ve learned a tremendous amount about how to build a world-class software agent since we first launched the CLI in April. To unpack those insights, this is the first post in an ongoing series where we’ll explore various aspects of how Codex works, as well as hard-earned lessons. (For an even more granular view on how the Codex CLI is built, check out our open source repository at https://github.com/openai/codex(mbukak ing jendhela anyar). Many of the finer details of our design decisions are memorialized in GitHub issues and pull requests if you’d like to learn more.)
To kick off, we’ll focus on the agent loop, which is the core logic in Codex CLI that is responsible for orchestrating the interaction between the user, the model, and the tools the model invokes to perform meaningful software work. We hope this post gives you a good view into the role our agent (or “harness”) plays in making use of an LLM.
Before we dive in, a quick note on terminology: at OpenAI, “Codex” encompasses a suite of software agent offerings, including Codex CLI, Codex Cloud, and the Codex VS Code extension. This post focuses on the Codex harness, which provides the core agent loop and execution logic that underlies all Codex experiences and is surfaced through the Codex CLI. For ease here, we’ll use the terms “Codex” and “Codex CLI” interchangeably.
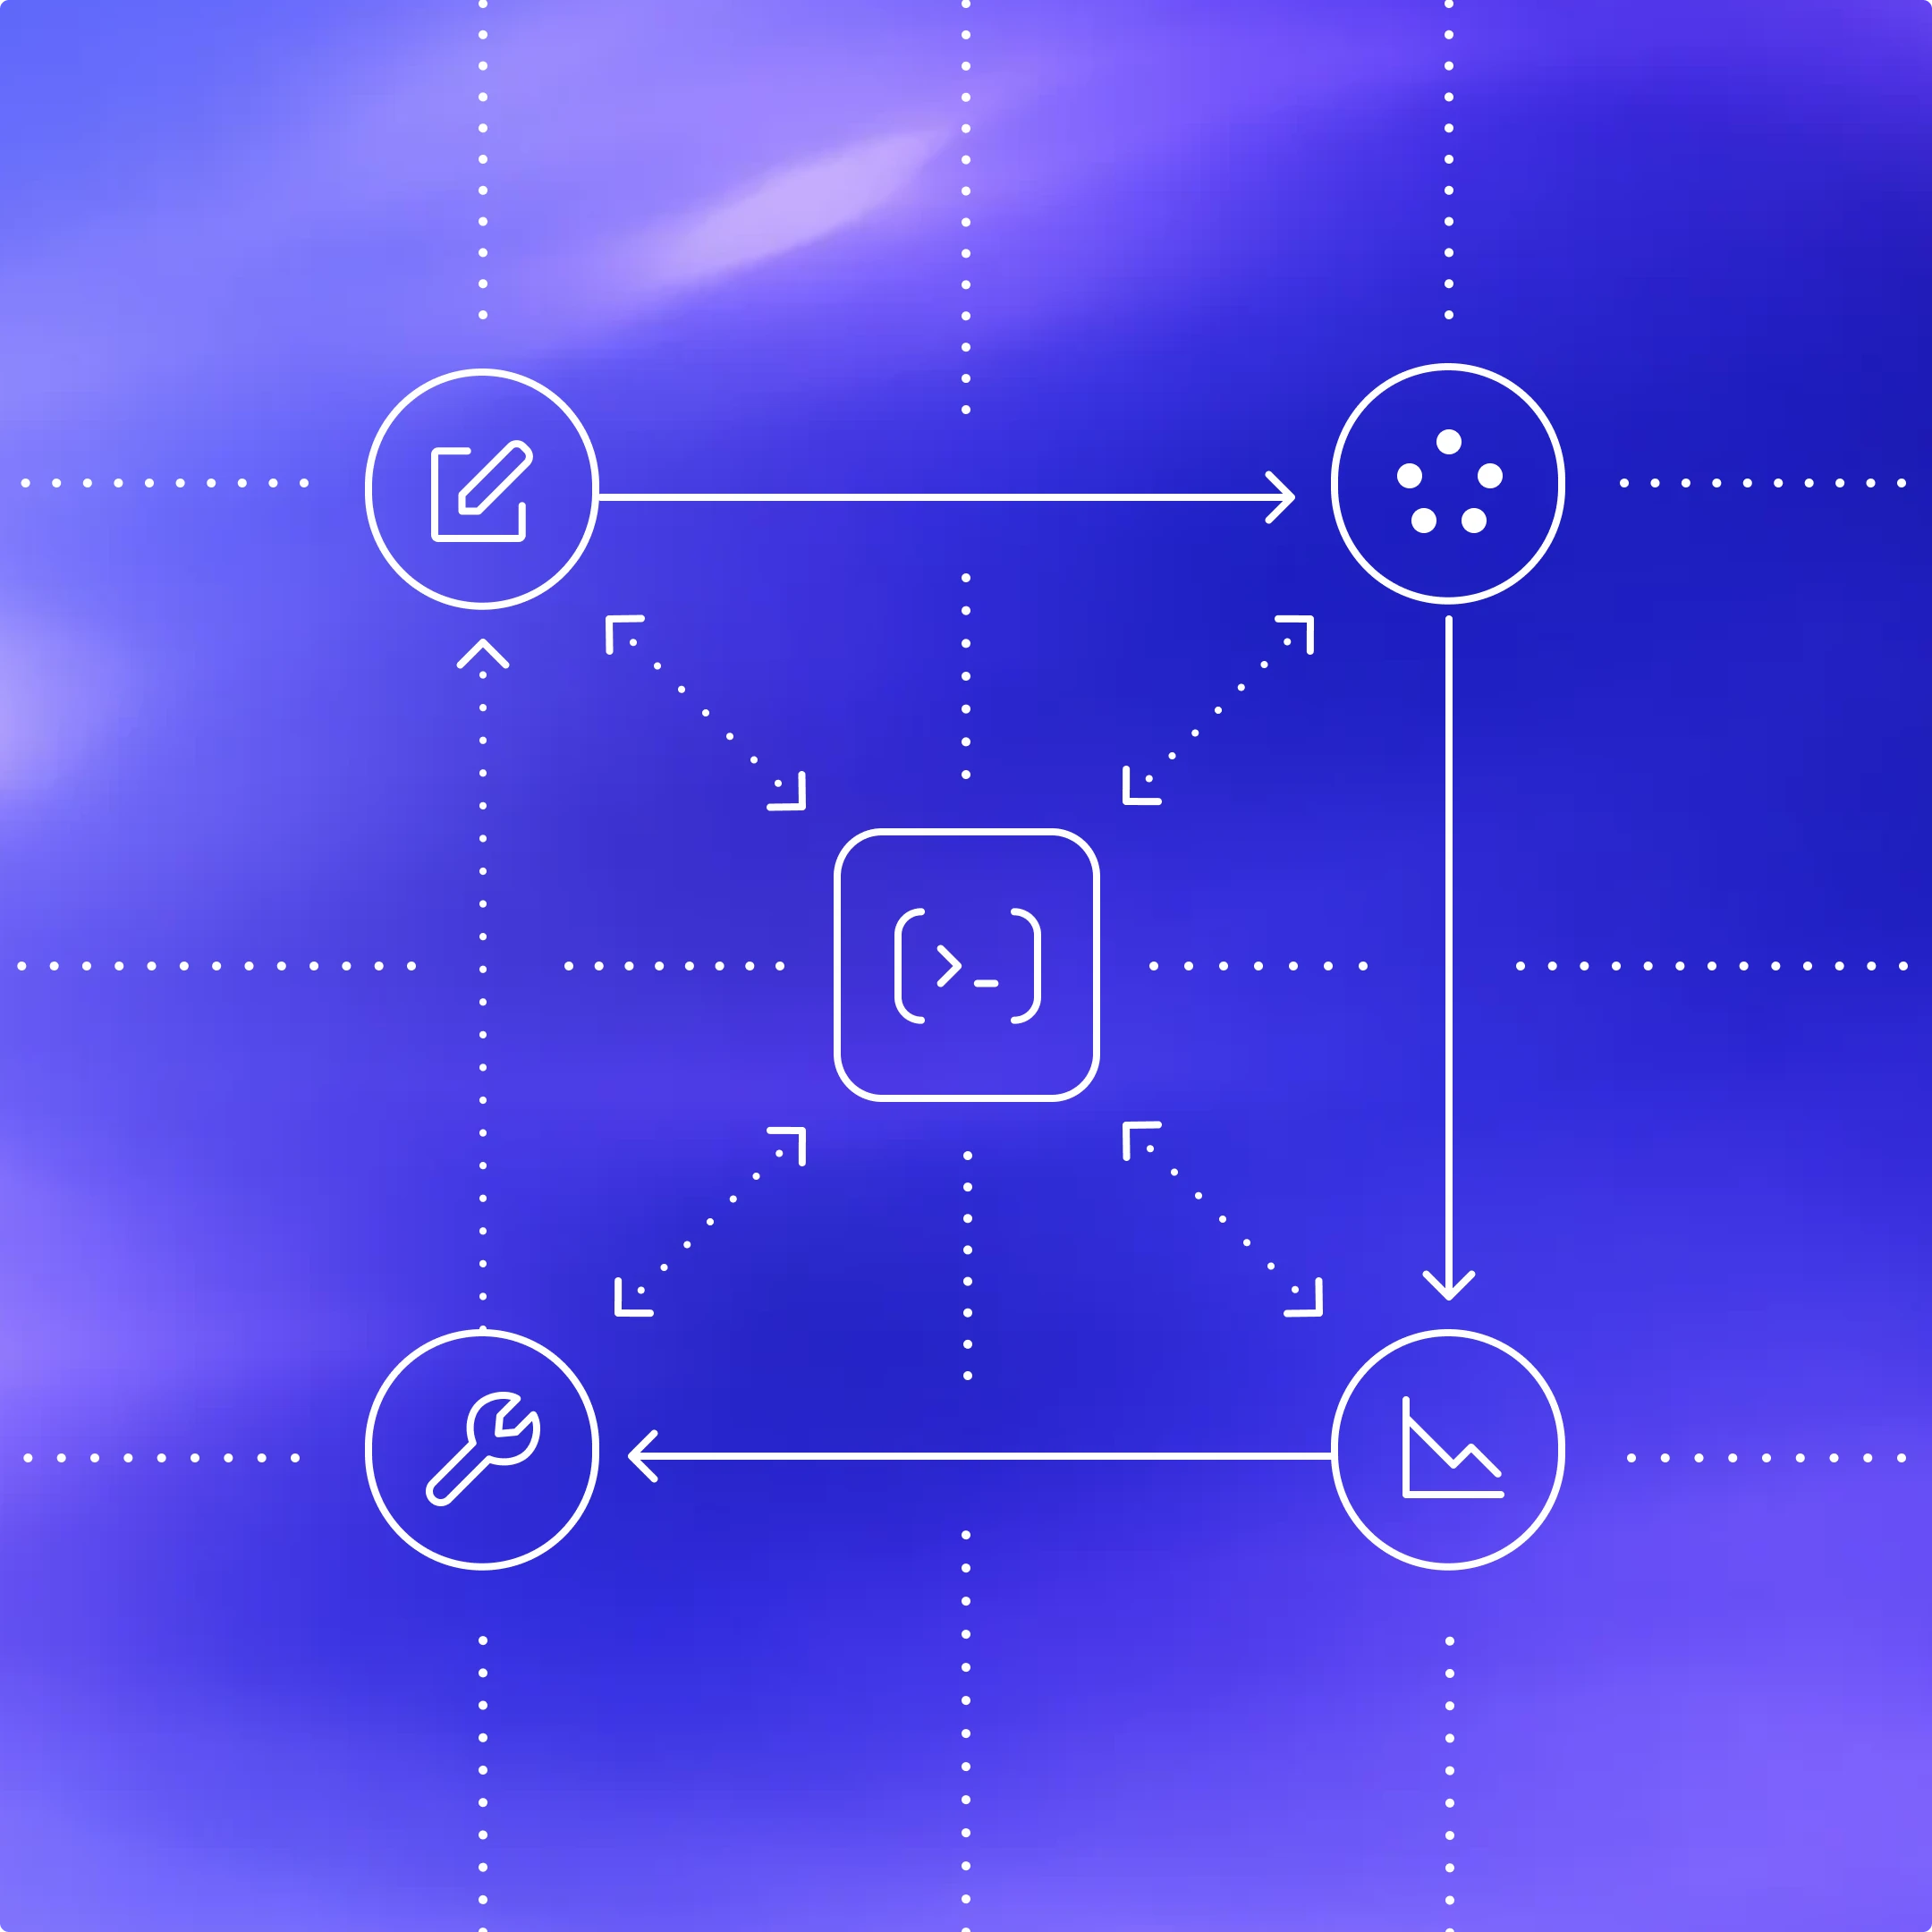
At the heart of every AI agent is something called “the agent loop.” A simplified illustration of the agent loop looks like this:

To start, the agent takes input from the user to include in the set of textual instructions it prepares for the model known as a prompt.
The next step is to query the model by sending it our instructions and asking it to generate a response, a process known as inference. During inference, the textual prompt is first translated into a sequence of input tokens(mbukak ing jendhela anyar)—integers that index into the model’s vocabulary. These tokens are then used to sample the model, producing a new sequence of output tokens.
The output tokens are translated back into text, which becomes the model’s response. Because tokens are produced incrementally, this translation can happen as the model runs, which is why many LLM-based applications display streaming output. In practice, inference is usually encapsulated behind an API that operates on text, abstracting away the details of tokenization.
As the result of the inference step, the model either (1) produces a final response to the user’s original input, or (2) requests a tool call that the agent is expected to perform (e.g., “run ls and report the output”). In the case of (2), the agent executes the tool call and appends its output to the original prompt. This output is used to generate a new input that’s used to re-query the model; the agent can then take this new information into account and try again.
This process repeats until the model stops emitting tool calls and instead produces a message for the user (referred to as an assistant message in OpenAI models). In many cases, this message directly answers the user’s original request, but it may also be a follow-up question for the user.
Because the agent can execute tool calls that modify the local environment, its “output” is not limited to the assistant message. In many cases, the primary output of a software agent is the code it writes or edits on your machine. Nevertheless, each turn always ends with an assistant message—such as “I added the architecture.md you asked for”—which signals a termination state in the agent loop. From the agent’s perspective, its work is complete and control returns to the user.
The journey from user input to agent response shown in the diagram is referred to as one turn of a conversation (a thread in Codex). Though this conversation turn can include many iterations between the model inference and tool calls. Every time you send a new message to an existing conversation, the conversation history is included as part of the prompt for the new turn, which includes the messages and tool calls from previous turns:

This means that as the conversation grows, so does the length of the prompt used to sample the model. This length matters because every model has a context window, which is the maximum number of tokens it can use for one inference call. Note this window includes both input and output tokens. As you might imagine, an agent could decide to make hundreds of tool calls in a single turn, potentially exhausting the context window. For this reason, context window management is one of the agent’s many responsibilities. Now, let’s dive in to see how Codex runs the agent loop.
The Codex CLI sends HTTP requests to the Responses API(mbukak ing jendhela anyar) to run model inference. We’ll examine how information flows through Codex, which uses the Responses API to drive the agent loop.
The Responses API endpoint that the Codex CLI uses is configurable(mbukak ing jendhela anyar), so it can be used with any endpoint that implements the Responses API(mbukak ing jendhela anyar):
- When using ChatGPT login(mbukak ing jendhela anyar) with the Codex CLI, it uses
https://chatgpt.com/backend-api/codex/responsesas the endpoint - When using API-key authentication(mbukak ing jendhela anyar) with OpenAI hosted models, it uses
https://api.openai.com/v1/responsesas the endpoint - When running Codex CLI with
--ossto use gpt-oss with ollama 0.13.4+(mbukak ing jendhela anyar) or LM Studio 0.3.39+(mbukak ing jendhela anyar), it defaults tohttp://localhost:11434/v1/responsesrunning locally on your computer - Codex CLI can be used with the Responses API hosted by a cloud provider such as Azure
Let’s explore how Codex creates the prompt for the first inference call in a conversation.
As an end user, you don’t specify the prompt used to sample the model verbatim when you query the Responses API. Instead, you specify various input types as part of your query, and the Responses API server decides how to structure this information into a prompt that the model is designed to consume. You can think of the prompt as a “list of items”; this section will explain how your query gets transformed into that list.
In the initial prompt, every item in the list is associated with a role. The role indicates how much weight the associated content should have and is one of the following values (in decreasing order of priority): system, developer, user, assistant.
The Responses API(mbukak ing jendhela anyar) takes a JSON payload with many parameters. We’ll focus on these three:
instructions(mbukak ing jendhela anyar): system (or developer) message inserted into the model’s contexttools(mbukak ing jendhela anyar): a list of tools the model may call while generating a responseinput(mbukak ing jendhela anyar): a list of text, image, or file inputs to the model
In Codex, the instructions field is read from the model_instructions_file(mbukak ing jendhela anyar) in ~/.codex/config.toml, if specified; otherwise, the base_instructions associated with a model(mbukak ing jendhela anyar) are used. Model-specific instructions live in the Codex repo and are bundled into the CLI (e.g., gpt-5.2-codex_prompt.md(mbukak ing jendhela anyar)).
The tools field is a list of tool definitions that conform to a schema defined by the Responses API. For Codex, this includes tools that are provided by the Codex CLI, tools that are provided by the Responses API that should be made available to Codex, as well as tools provided by the user, usually via MCP servers:
Finally, the input field of the JSON payload is a list of items. Codex inserts the following items(mbukak ing jendhela anyar) into the input before adding the user message:
1. A message with role=developer that describes the sandbox that applies only to the Codex-provided shell tool defined in the tools section. That is, other tools, such as those provided from MCP servers, are not sandboxed by Codex and are responsible for enforcing their own guardrails.
The message is built from a template where the key pieces of content come from snippets of Markdown bundled into the Codex CLI, such as workspace_write.md(mbukak ing jendhela anyar) and on_request.md(mbukak ing jendhela anyar):
2. (Optional) A message with role=developer whose contents are the developer_instructions value read from the user’s config.toml file.
3. (Optional) A message with role=user whose contents are the “user instructions,” which are not sourced from a single file but are aggregated across multiple sources(mbukak ing jendhela anyar). In general, more specific instructions appear later:
- Contents of
AGENTS.override.mdandAGENTS.mdin$CODEX_HOME - Subject to a limit (32 KiB, by default), look in each folder from the Git/project root of the
cwd(if it it exists) up to thecwditself: add the contents of any ofAGENTS.override.md,AGENTS.md, or any filename specified byproject_doc_fallback_filenames in config.toml - If any skills(mbukak ing jendhela anyar) have been configured:
- a short preamble about skills
- the skill metadata(mbukak ing jendhela anyar) for each skill
- a section on how to use skills(mbukak ing jendhela anyar)
4. A message with role=user that describes the local environment in which the agent is currently operating. This specifies the current working directory and the user’s shell(mbukak ing jendhela anyar):
Sawisé Codex ngrampungaké kabèh komputasi ing ndhuwur kanggo miwiti input, Codex nambahi pesen pangguna kanggo miwiti obrolan.
Conto sadurungé fokus ing isi saben pesen, nanging elinga yèn saben unsur saka input yaiku obyek JSON kanthi type, role(mbukak ing jendhela anyar), lan content kaya mangkéné:
Sawisé Codex mbangun payload JSON lengkap kanggo dikirim menyang Responses API, banjur Codex nggawe panjalukan HTTP POST nganggo header Authorization gumantung saka carane titik pungkasan Responses API dikonfigurasi ing ~/.codex/config.toml (header HTTP tambahan lan parameter kueri ditambahaké yèn ditemtokaké).
Nalika server OpenAI Responses API nampa panjalukan, server nggunakaké JSON kasebut kanggo nurunaké prompt kanggo model kaya mangkéné (mesthi waé, implementasi kustom saka Responses API bisa wae milih cara liya):

Kaya sing bisa panjenengan deleng, urutan telung item pisanan ing prompt ditemtokaké déning server, dudu klien. Sanajan mangkono, saka telung item kuwi, mung isi saka pesen system sing uga dikendhalèkaké server, amarga tools lan instructions ditemtokaké déning klien. Banjur iki diterusaké déning input saka payload JSON kanggo ngrampungaké prompt.
Saiki sawisé kita nduwèni prompt, kita wis siyap nyampling model.
Panjalukan HTTP menyang Responses API iki miwiti “giliran” pisanan saka obrolan ing Codex. Server mbales nganggo stream Server-Sent Events (SSE(mbukak ing jendhela anyar)). data saka saben event yaiku payload JSON kanthi "type" sing diwiwiti nganggo "response", sing bisa kaya mangkéné (dhaptar lengkap event bisa ditemokaké ing dok API(mbukak ing jendhela anyar)):
Codex ngonsumsi stream event(mbukak ing jendhela anyar) lan nerbitaké manèh dadi obyek event internal sing bisa digunakaké klien. Event kaya response.output_text.delta digunakaké kanggo ndhukung streaming ing UI, déné event liya kaya response.output_item.added diowahi dadi obyek sing ditambahaké menyang input kanggo panggilan Responses API sabanjuré.
Umpamakna panjalukan pisanan menyang Responses API nyakup loro event response.output_item.done: siji nganggo type=reasoning lan siji nganggo type=function_call. Event-event iki kudu diwakili ing kolom input saka JSON nalika kita ngueri model manèh karo tanggapan kanggo tool call:
Prompt asil sing digunakaké kanggo nyampling model minangka bagéan saka kueri sabanjuré bakal katon kaya mangkéné:

Khususé, elinga carane prompt lawas yaiku prefiks sing pas persis saka prompt anyar. Iki disengaja, amarga iki ndadèkaké panjalukan sabanjuré luwih efisien banget sebab ngidini kita nggunakaké cache prompt (sing bakal kita rembug ing bagean sabanjuré bab kinerja).
Nalika nyawang manèh diagram loop agen pisanan, kita weruh yèn bisa ana akèh iterasi antarane inferensi lan tool call. Prompt bisa terus saya gedhé nganti pungkasane kita nampa assistant message, sing nandhakaké pungkasan giliran:
Ing Codex CLI, kita nampilaké assistant message marang pangguna lan ngfokusaké composer kanggo nuduhaké marang pangguna yèn saiki dadi “giliran”-é kanggo nerusaké obrolan. Yèn pangguna mbales, assistant message saka giliran sadurungé lan uga pesen anyar saka pangguna kudu ditambahaké menyang input ing panjalukan Responses API kanggo miwiti giliran anyar:
Sekali manèh, amarga kita nerusaké obrolan, dawa input sing dikirim menyang Responses API terus mundhak:

Ayo ditliti apa teges saka prompt sing terus saya gedhé iki kanggo kinerja.
Bisa uga panjenengan takon marang awaké dhéwé, “Ngenteni, apa loop agen ora kuadratik saka sisi jumlah JSON sing dikirim menyang Responses API sajrone obrolan?” Lan panjenengan bener. Senajan Responses API ndhukung parameter previous_response_id(mbukak ing jendhela anyar) opsional kanggo nyuda masalah iki, Codex saiki ora nggunakaké, utamané kanggo njaga panjalukan tetep stateless lan ndhukung konfigurasi retensi data nol (ZDR).
Nyingkiri previous_response_id ndadèkaké samubarang luwih prasaja kanggo panyedhiya Responses API amarga njamin saben panjalukan iku stateless. Iki uga ndadèkaké gampang ndhukung pelanggan sing milih retensi data nol (ZDR)(mbukak ing jendhela anyar), amarga nyimpen data sing dibutuhaké kanggo ndhukung previous_response_id bakal bertentangan karo ZDR. Elinga yèn pelanggan ZDR ora kelangan kemampuan kanggo tetep éntuk manfaat saka pesen nalar kepemilikan saka giliran-giliran sadurungé, amarga encrypted_content sing gegandhengan bisa didekripsi ing server. (OpenAI nyimpen kunci dekripsi pelanggan ZDR, nanging ora nyimpen data-é.) Delengen PR #642(mbukak ing jendhela anyar) lan #1641(mbukak ing jendhela anyar) kanggo owah-owahan gegandhengan ing Codex kanggo ndhukung ZDR.
Umumé, biaya nyampling model luwih dominan tinimbang biaya lalu lintas jaringan, mula nyampling dadi target utama saka upaya efisiensi kita. Mula cache prompt penting banget, amarga ngidini kita nggunakaké ulang komputasi saka panggilan inferensi sadurungé. Nalika kita entuk cache hit, nyampling model dadi linear tinimbang kuadratik. Dokumentasi cache prompt (mbukak ing jendhela anyar)kami nerangaké iki kanthi luwih rinci:
Cache hit mung bisa kelakon kanggo kecocokan prefiks sing pas persis ing njero prompt. Kanggo nggayuh manfaat caching, pasang isi statis kaya instruksi lan conto ing wiwitan prompt panjenengan, lan pasang isi variabel, kayata informasi khusus pangguna, ing pungkasan. Iki uga ditrapaké kanggo gambar lan tools, sing kudu padha persis antar panjalukan.
Kanthi iki ing pikiran, ayo dipikir jinis operasi apa waé sing bisa njalari “cache miss” ing Codex:
- Ngganti
toolssing kasedhiya kanggo model ing tengah obrolan. - Ngganti
modelsing dadi target panjalukan Responses API (ing praktiké, iki ngganti item katelu ing prompt asli, amarga item iki ngemot instruksi khusus model). - Ngganti konfigurasi sandbox, mode persetujuan, utawa direktori kerja saiki.
Tim Codex kudu tliti banget nalika ngenalaké fitur anyar ing Codex CLI sing bisa ngganggu cache prompt. Minangka conto, dhukungan awal kita kanggo tool MCP ngenalaké bug nalika kita gagal ndaftar tools kanthi urutan sing konsisten(mbukak ing jendhela anyar), sing nyebabaké cache miss. Elinga yèn tool MCP bisa dadi angel banget amarga server MCP bisa ngganti dhaptar tool sing disedhiyakaké kanthi dadakan liwat notifikasi notifications/tools/list_changed(mbukak ing jendhela anyar). Ngluhuraké notifikasi iki ing tengah obrolan dawa bisa nyebabaké cache miss sing larang.
Nalika bisa, kita nangani owah-owahan konfigurasi sing kelakon ing tengah obrolan kanthi nambahi pesen anyar menyang input kanggo nggambaraké owah-owahan kasebut tinimbang ngowahi pesen sadurungé:
- Yèn konfigurasi sandbox utawa mode persetujuan owah, kita nyisipaké(mbukak ing jendhela anyar) pesen
role=developeranyar kanthi format sing padha kaya item<permissions instructions>asli. - Yèn direktori kerja saiki owah, kita nyisipaké(mbukak ing jendhela anyar) pesen
role=useranyar kanthi format sing padha kaya<environment_context>asli.
Kita nindakake akèh upaya kanggo njamin cache hit demi kinerja. Ana sumber daya penting liya sing uga kudu kita kelola: jendhela konteks.
Strategi umum kita kanggo nyegah kehabisan jendhela konteks yaiku ngompakaké obrolan nalika jumlah token ngluwihi ambang tartamtu. Kanthi khusus, kita ngganti input nganggo dhaptar item anyar sing luwih cilik nanging tetep makili obrolan, supaya agen bisa nerusaké kanthi pangerten bab apa sing wis kedadéan nganti saiki. Implementasi kompaksi(mbukak ing jendhela anyar) awal mbutuhaké pangguna kanggo nelpon printah /compact kanthi manual, sing bakal ngueri Responses API nganggo obrolan sing wis ana plus instruksi kustom kanggo peringkesan(mbukak ing jendhela anyar). Codex nggunakaké assistant message asil sing ngandhut ringkesan kasebut minangka input anyar(mbukak ing jendhela anyar) kanggo giliran obrolan sabanjuré.
Wiwit wektu kuwi, Responses API wis berkembang kanggo ndhukung /responses/compact titik pungkasan(mbukak ing jendhela anyar) khusus sing nindakake kompaksi kanthi luwih efisien. Iki mbalèkaké dhaptar item(mbukak ing jendhela anyar) sing bisa digunakaké minangka ganti saka input sadurungé kanggo nerusaké obrolan nalika mbébasaké jendhela konteks. Dhaptar iki nyakup item khusus type=compaction kanthi item encrypted_content opaque sing njaga pangerten laten model babagan obrolan asli. Saiki, Codex kanthi otomatis nggunakaké titik pungkasan iki kanggo ngompakaké obrolan nalika auto_compact_limit(mbukak ing jendhela anyar) keluwihan.
Kita wis ngenalaké loop agen Codex lan mlaku bareng ndeleng carane Codex nyipta lan ngatur konteksé nalika ngueri model. Ing perjalanan, kita nyorot pertimbangan praktis lan praktik paling apik sing migunani kanggo sapa waé sing mbangun loop agen ing ndhuwur Responses API.
Sanajan loop agen nyedhiyakaké pondasi kanggo Codex, iki mung wiwitan. Ing kiriman-kiriman sabanjuré, kita bakal nyeluk arsitektur CLI luwih jero, njelajah carane panggunaan tool diimplementasikaké, lan nyawang luwih cetha model sandboxing Codex.